Getting started
On first run you will be greeted by a configuration wizard. A screenshot is shown below:
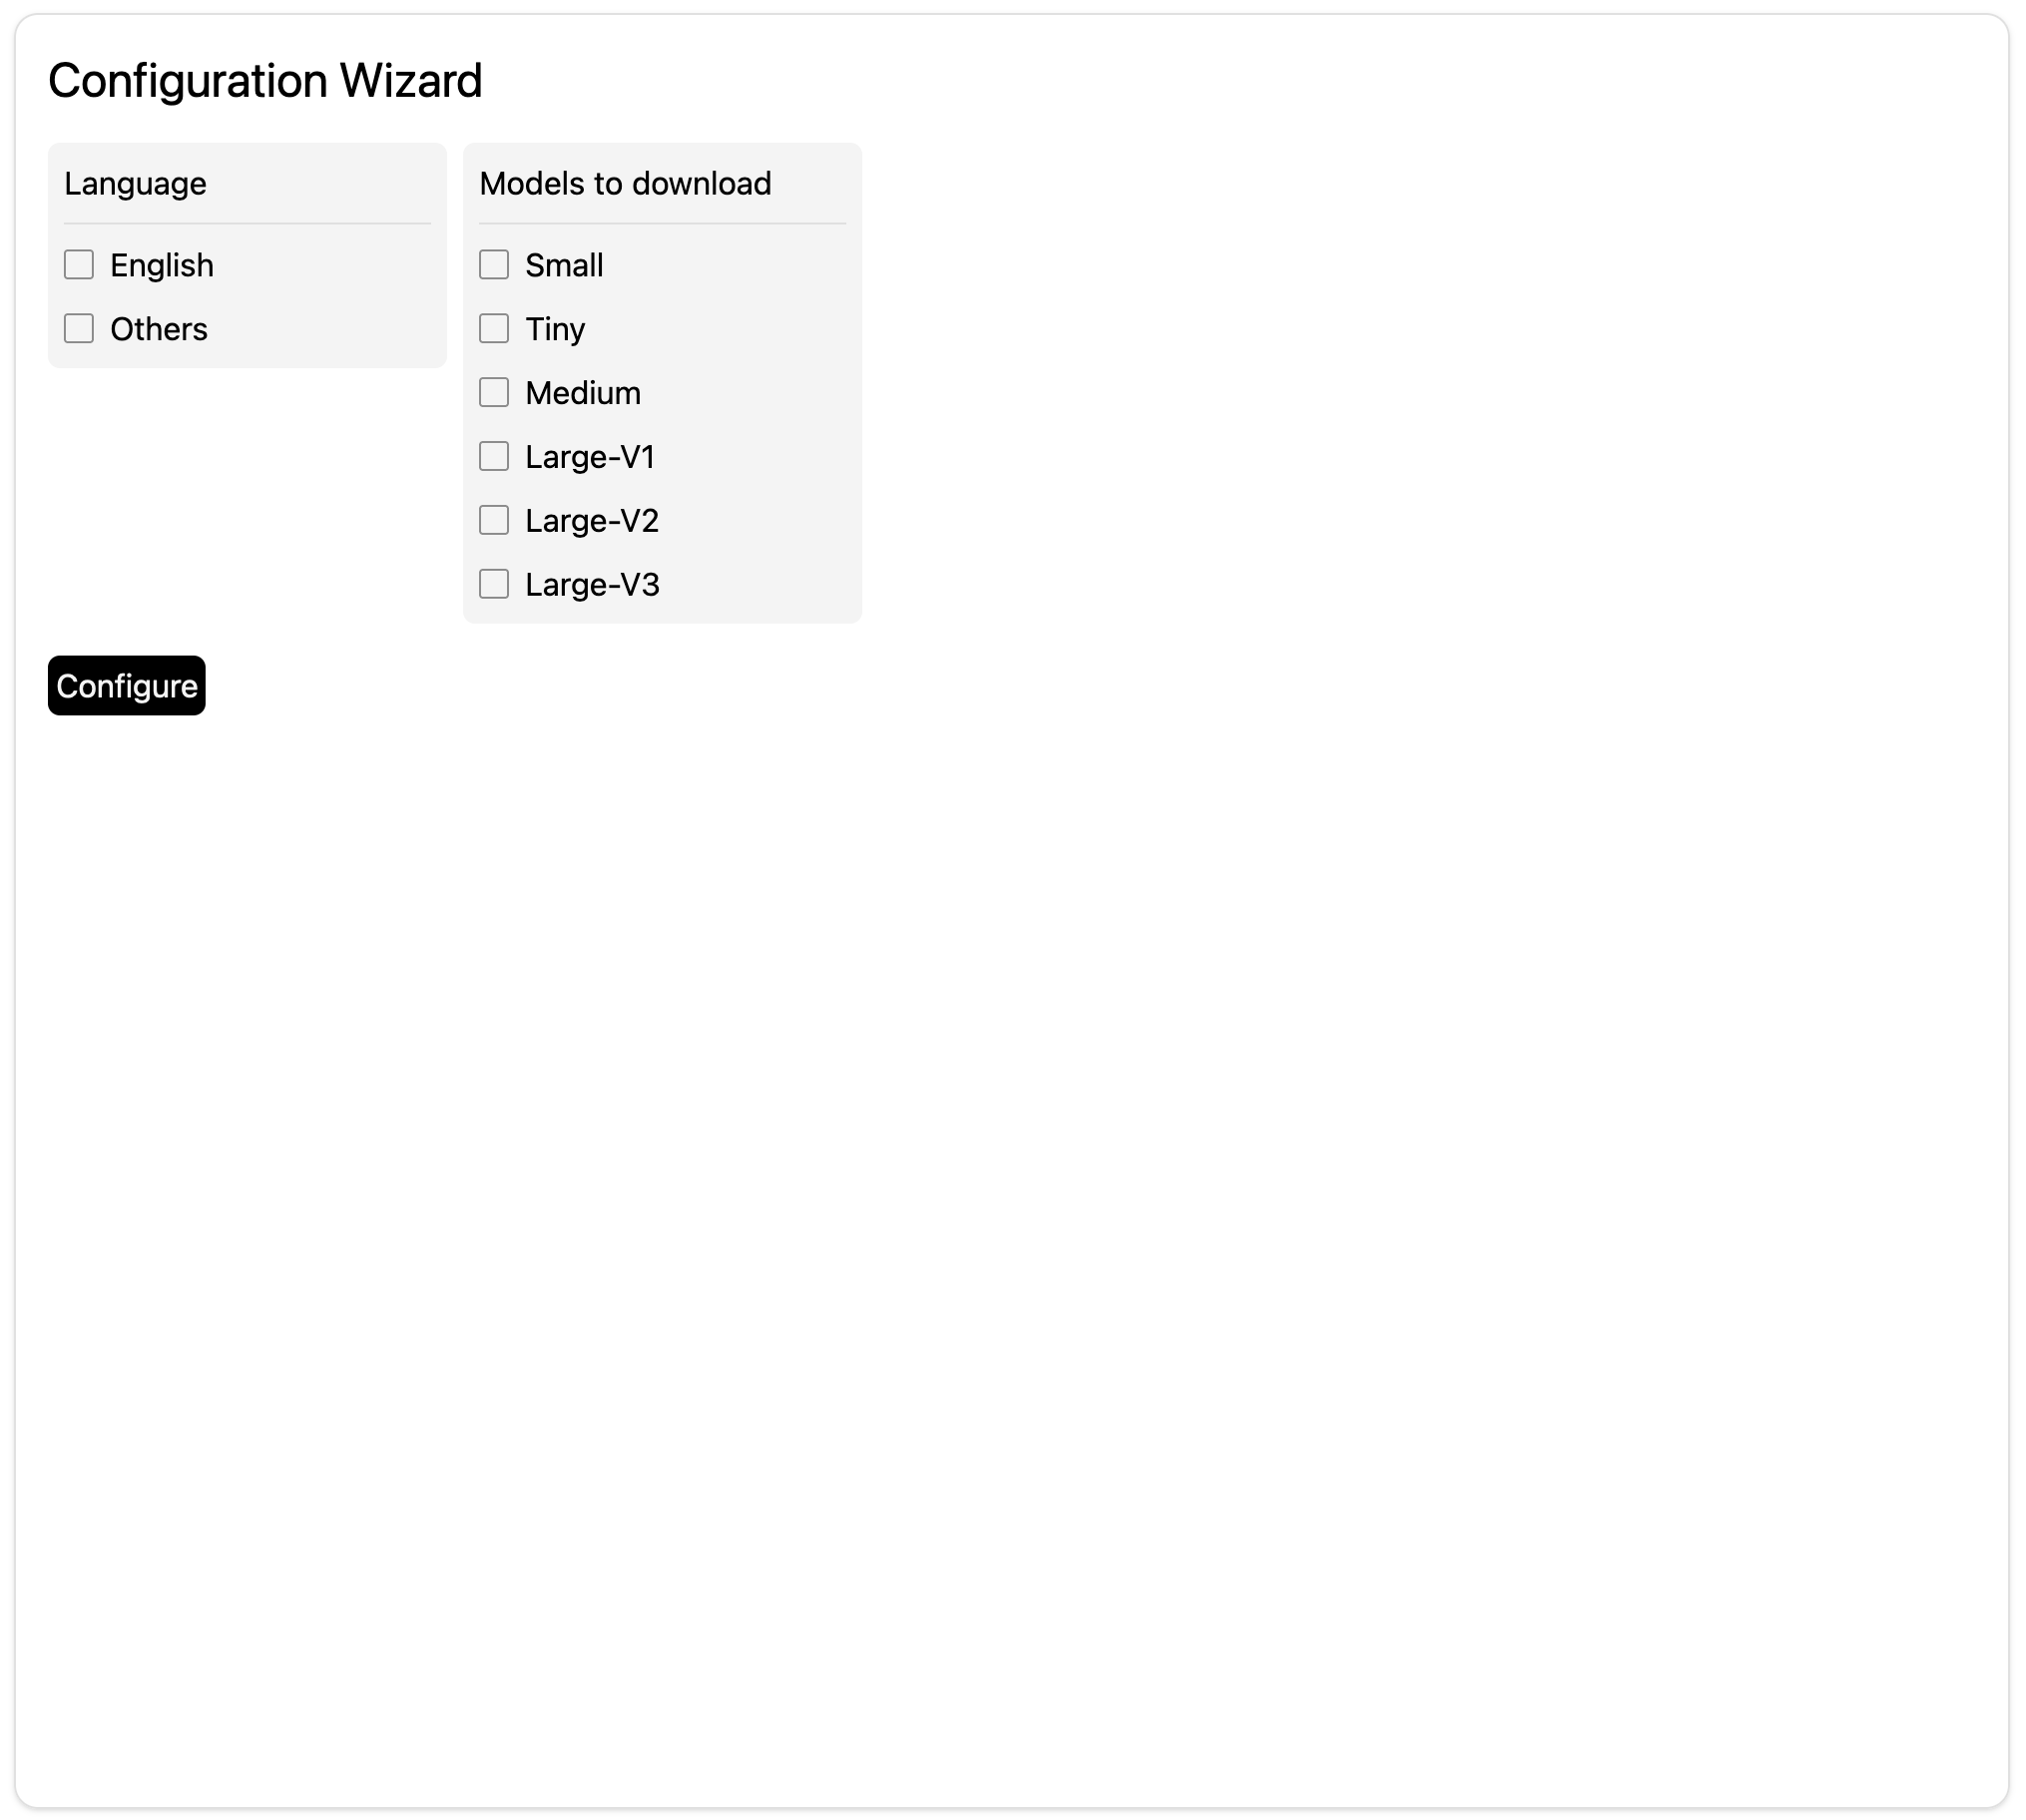
Note that although there are options for choosing language, they are not functional as of now
Select the model sizes you would like to download. Please note that not all
model sizes are supported yet. Currently medium is the largest model that
Scriberr can run.
Then press configure.
This will compile whisper.cpp for your hardware and download the selected models to path. You will be automatically redirected to the app once this process finishes.
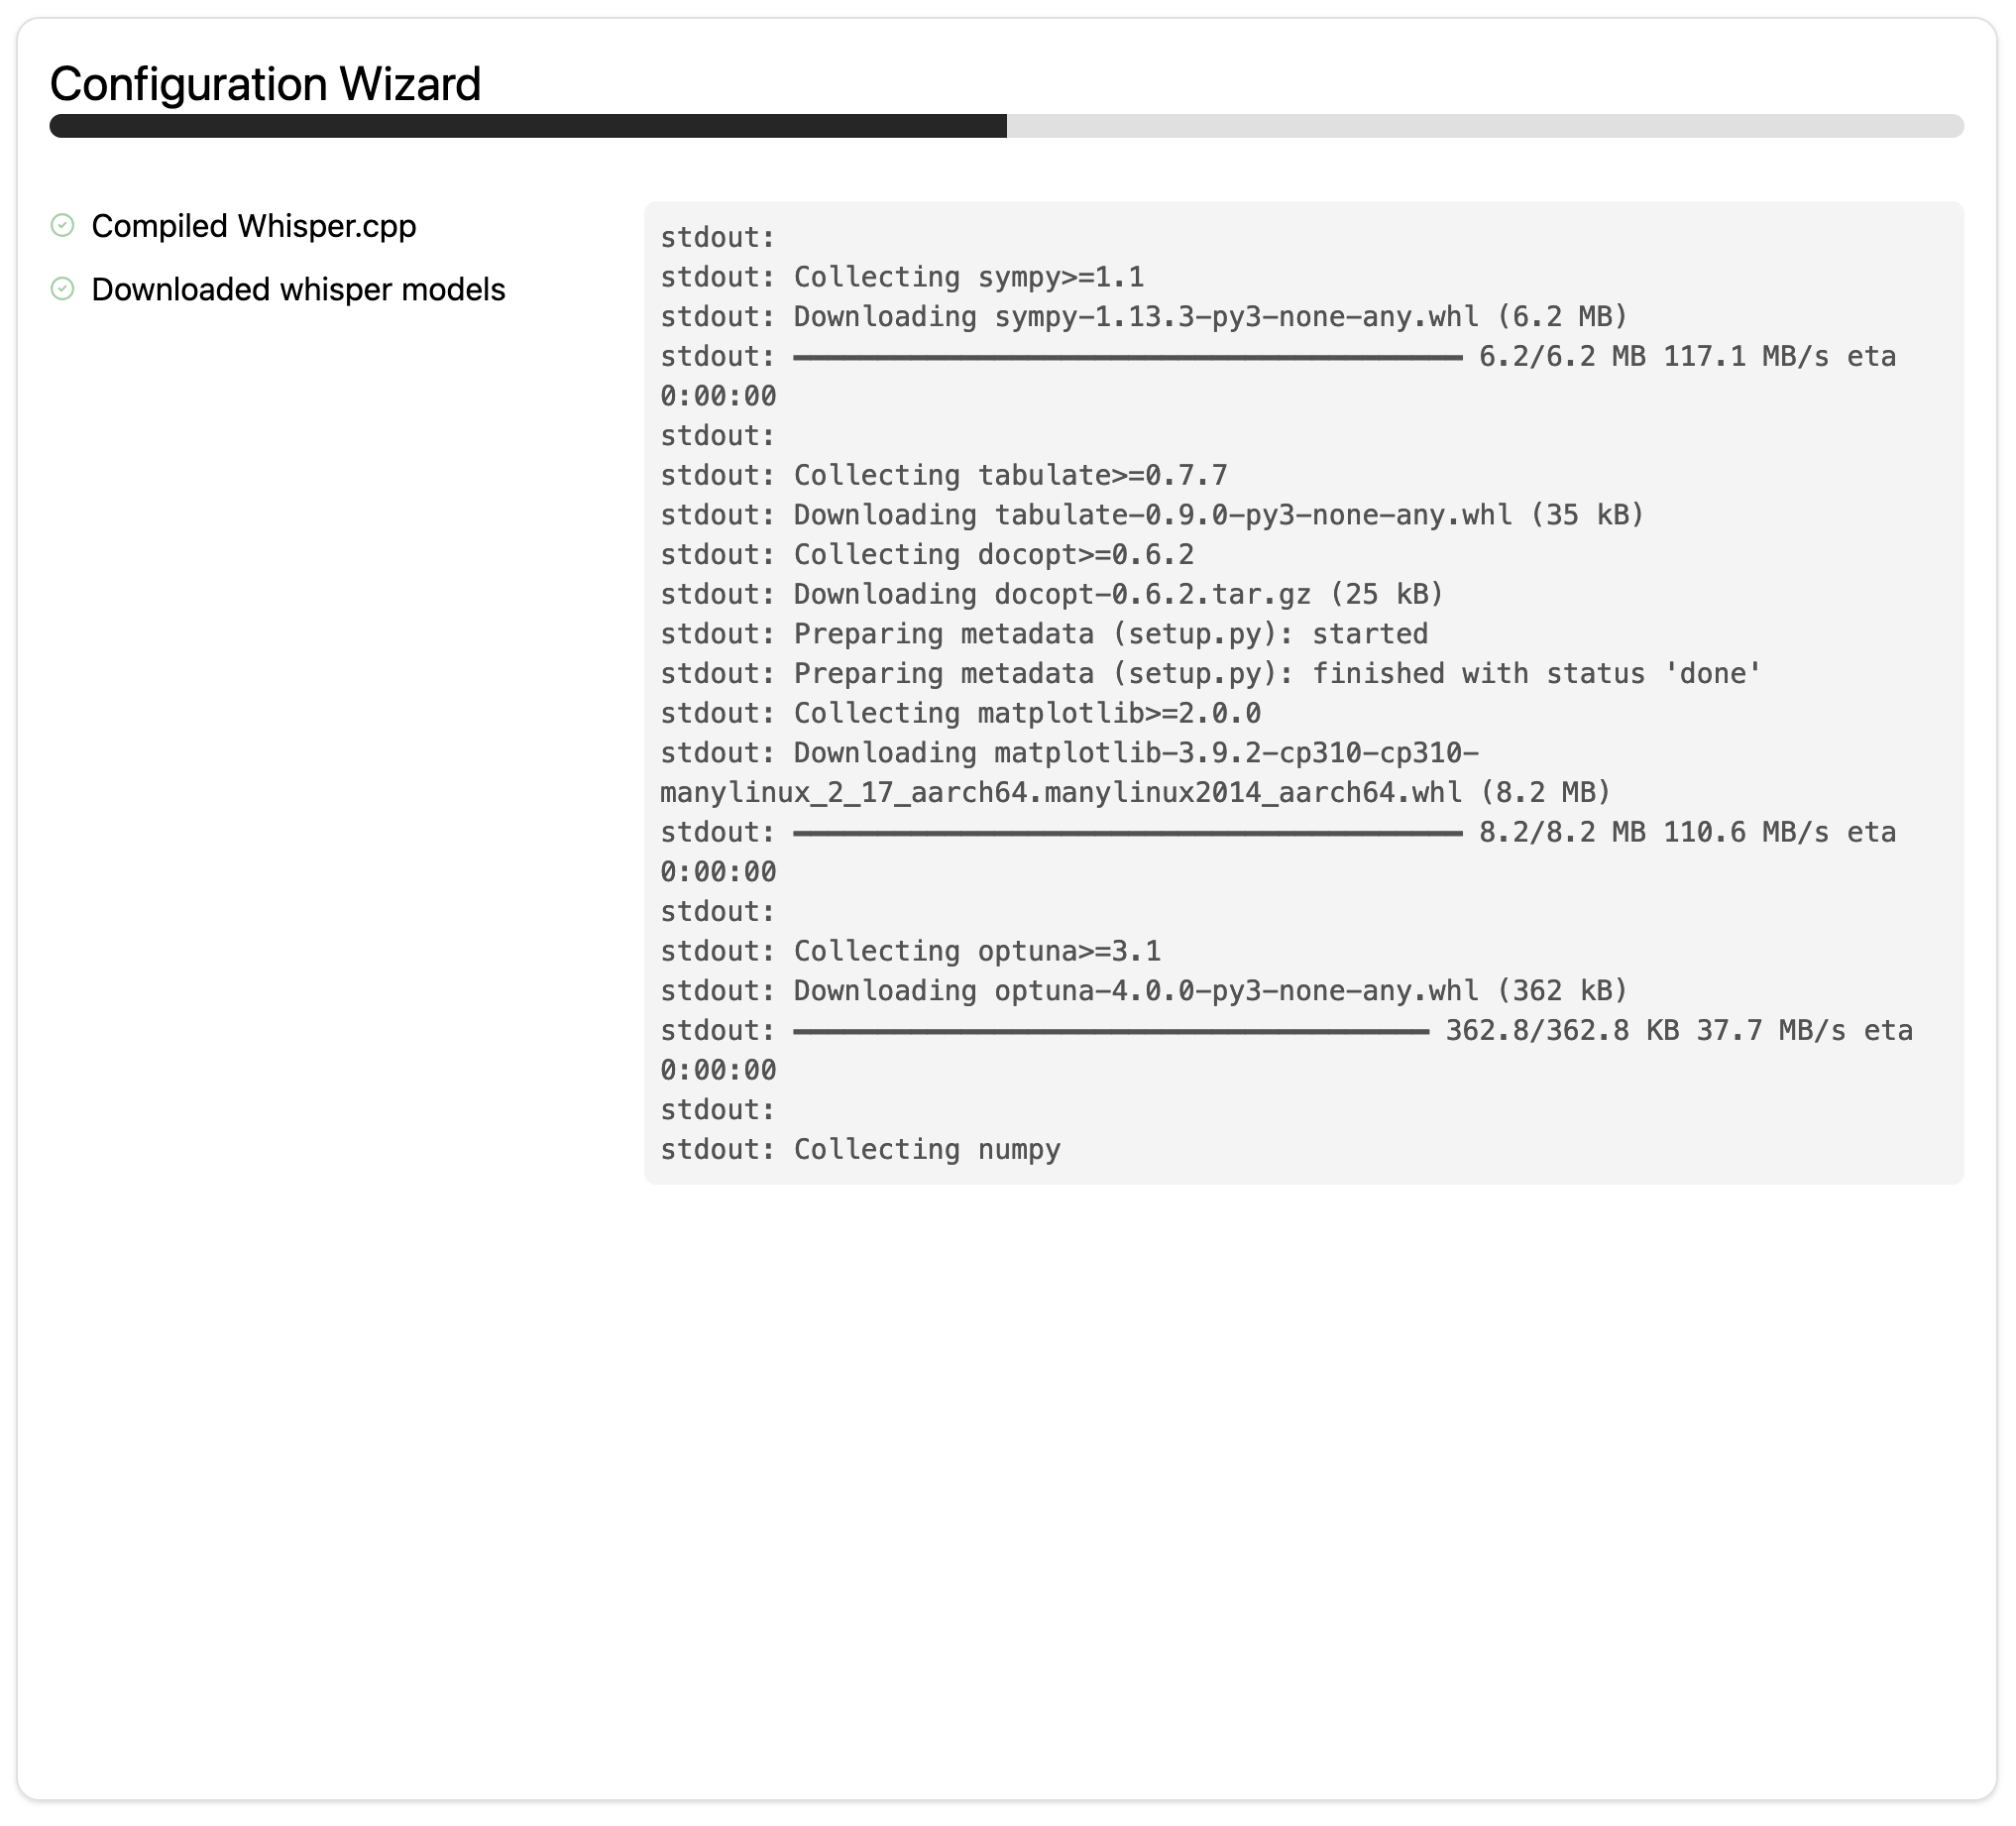
Even though the status will update to “Done” and the app loads, the
models wouldn’t have finished downloading yet.
This is because the whisper.cpp script spawns child processes which can’t be tracked
from within the app.
Wait for a few minutes. One way to confirm that the downloads have finished is
to check the /models folder of your container or the volume mount. The
model sizes are available here for
you to check that the models have downloaded completely.
Another option you have is to check the logs to monitor the progress of the
downloads. The log will show in live the output of the console.
Configuration
Navigate to the settings tab by clicking on the “gear” icon. You will be presented with a few options as shown below:
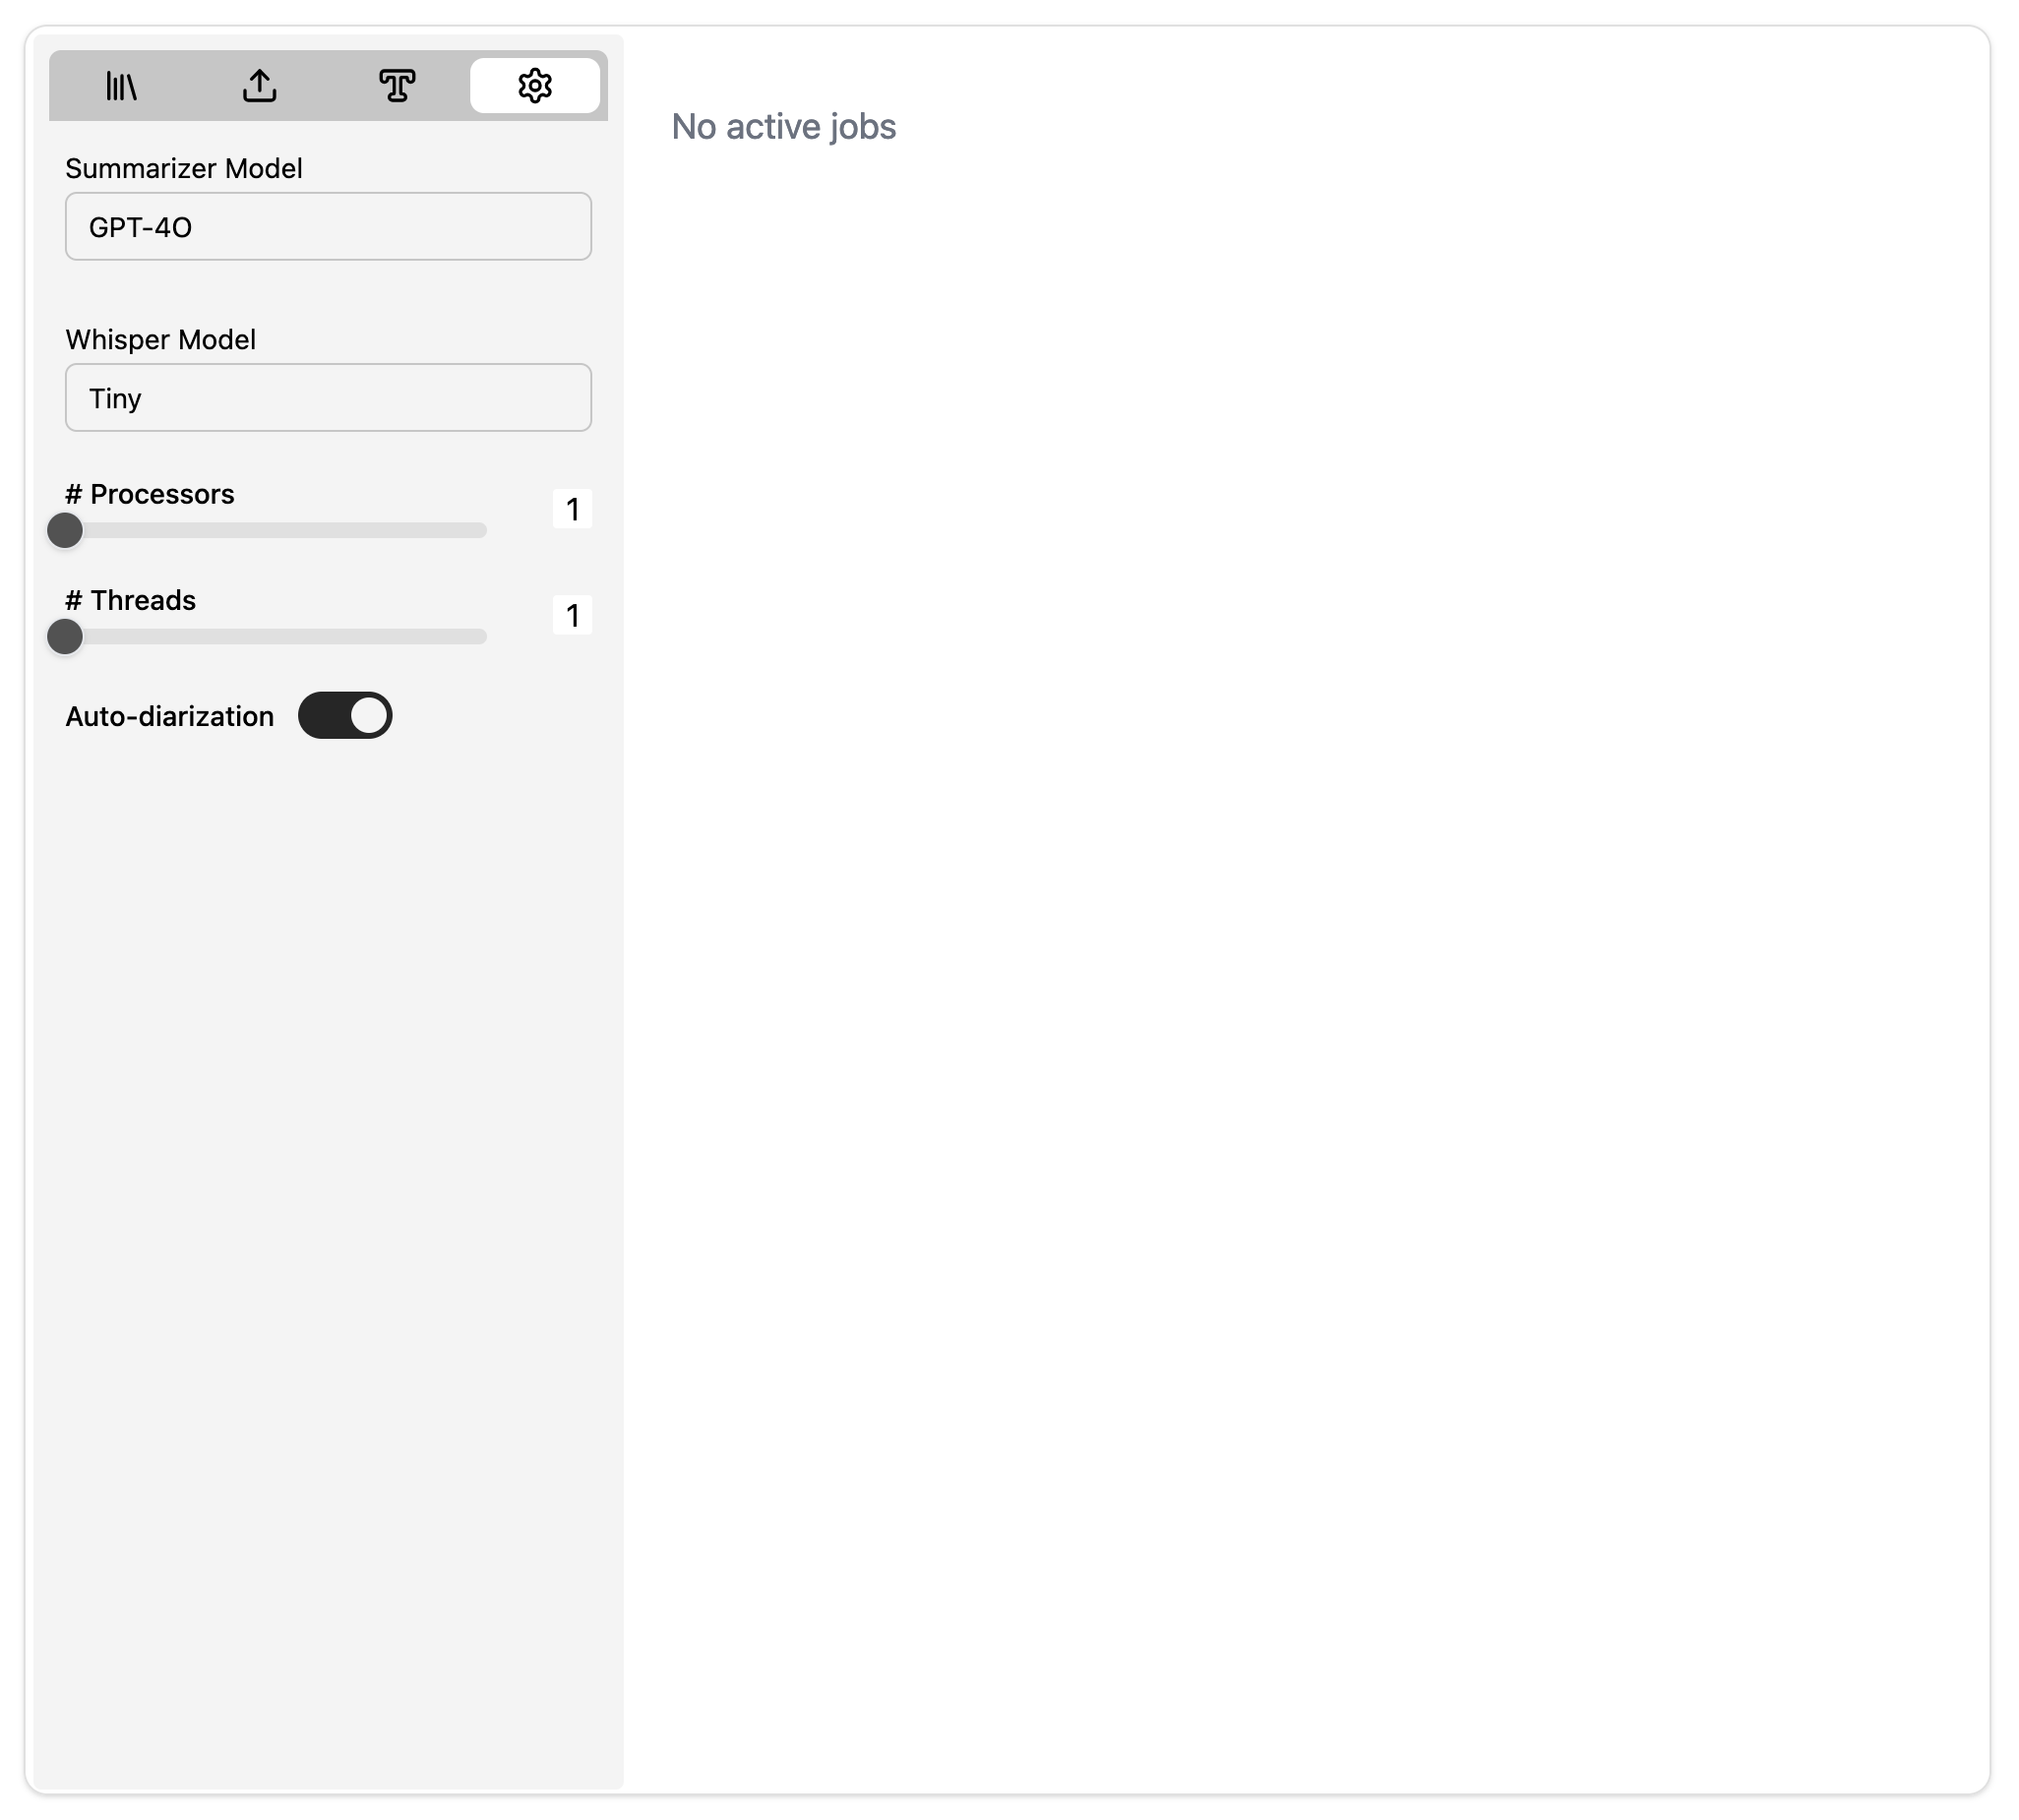
| Setting | Description |
|---|---|
| OpenAI model | The ChatGPT model to use for summarization of transcripts |
| Whisper model | The whisper model to use for transcription |
| # Threads | Number of threads assigned per transcription job |
| # Cpus | Number of CPU cores assigned per transcription job |
| Auto-Diarization | When enabled, all uploaded files will automatically be diarized for speaker identification |
When setting number of threads and cpu cores please make sure to verify that
they are within your systems capacity. The rule of thumb is # threads x # cpus x CONCURRENCY <= # Max Threads, where # Max Threads = # cores x # threads/core of your system.
Important considerations on hardware
Whisper.cpp is highly efficient and while you should in general be able to transcribe
on CPU devices (particularly the smaller models very easily), it is still
slow. However, increasing the total # threads per transcription job helps
significantly speedup inference. The higher this number the faster your
transcription.
Diarization further slows things down. If you plan to use diarization I highly
recommend using an NVIDIA or Intel GPU to speed up computation.
If you have a multi-core machine with many cores to spare, you can easily run this on CPU. On my Mac M3 with 3 cores and 2 threads per job, I could translate a Linux Tech Tip youtube video of about 40mins in a few minutes with diarization enabled.
When configuring the setup, pay attention to CONCURRENCY value you set during
deployment. If for instance you set # Threads to and # Cpus to and
CONCURRENCY to to , then potentially you could end up in a scenario where
the app tries to spawn threads ! If your system doesn’t have resources,
then the app will crash.
Transcribing
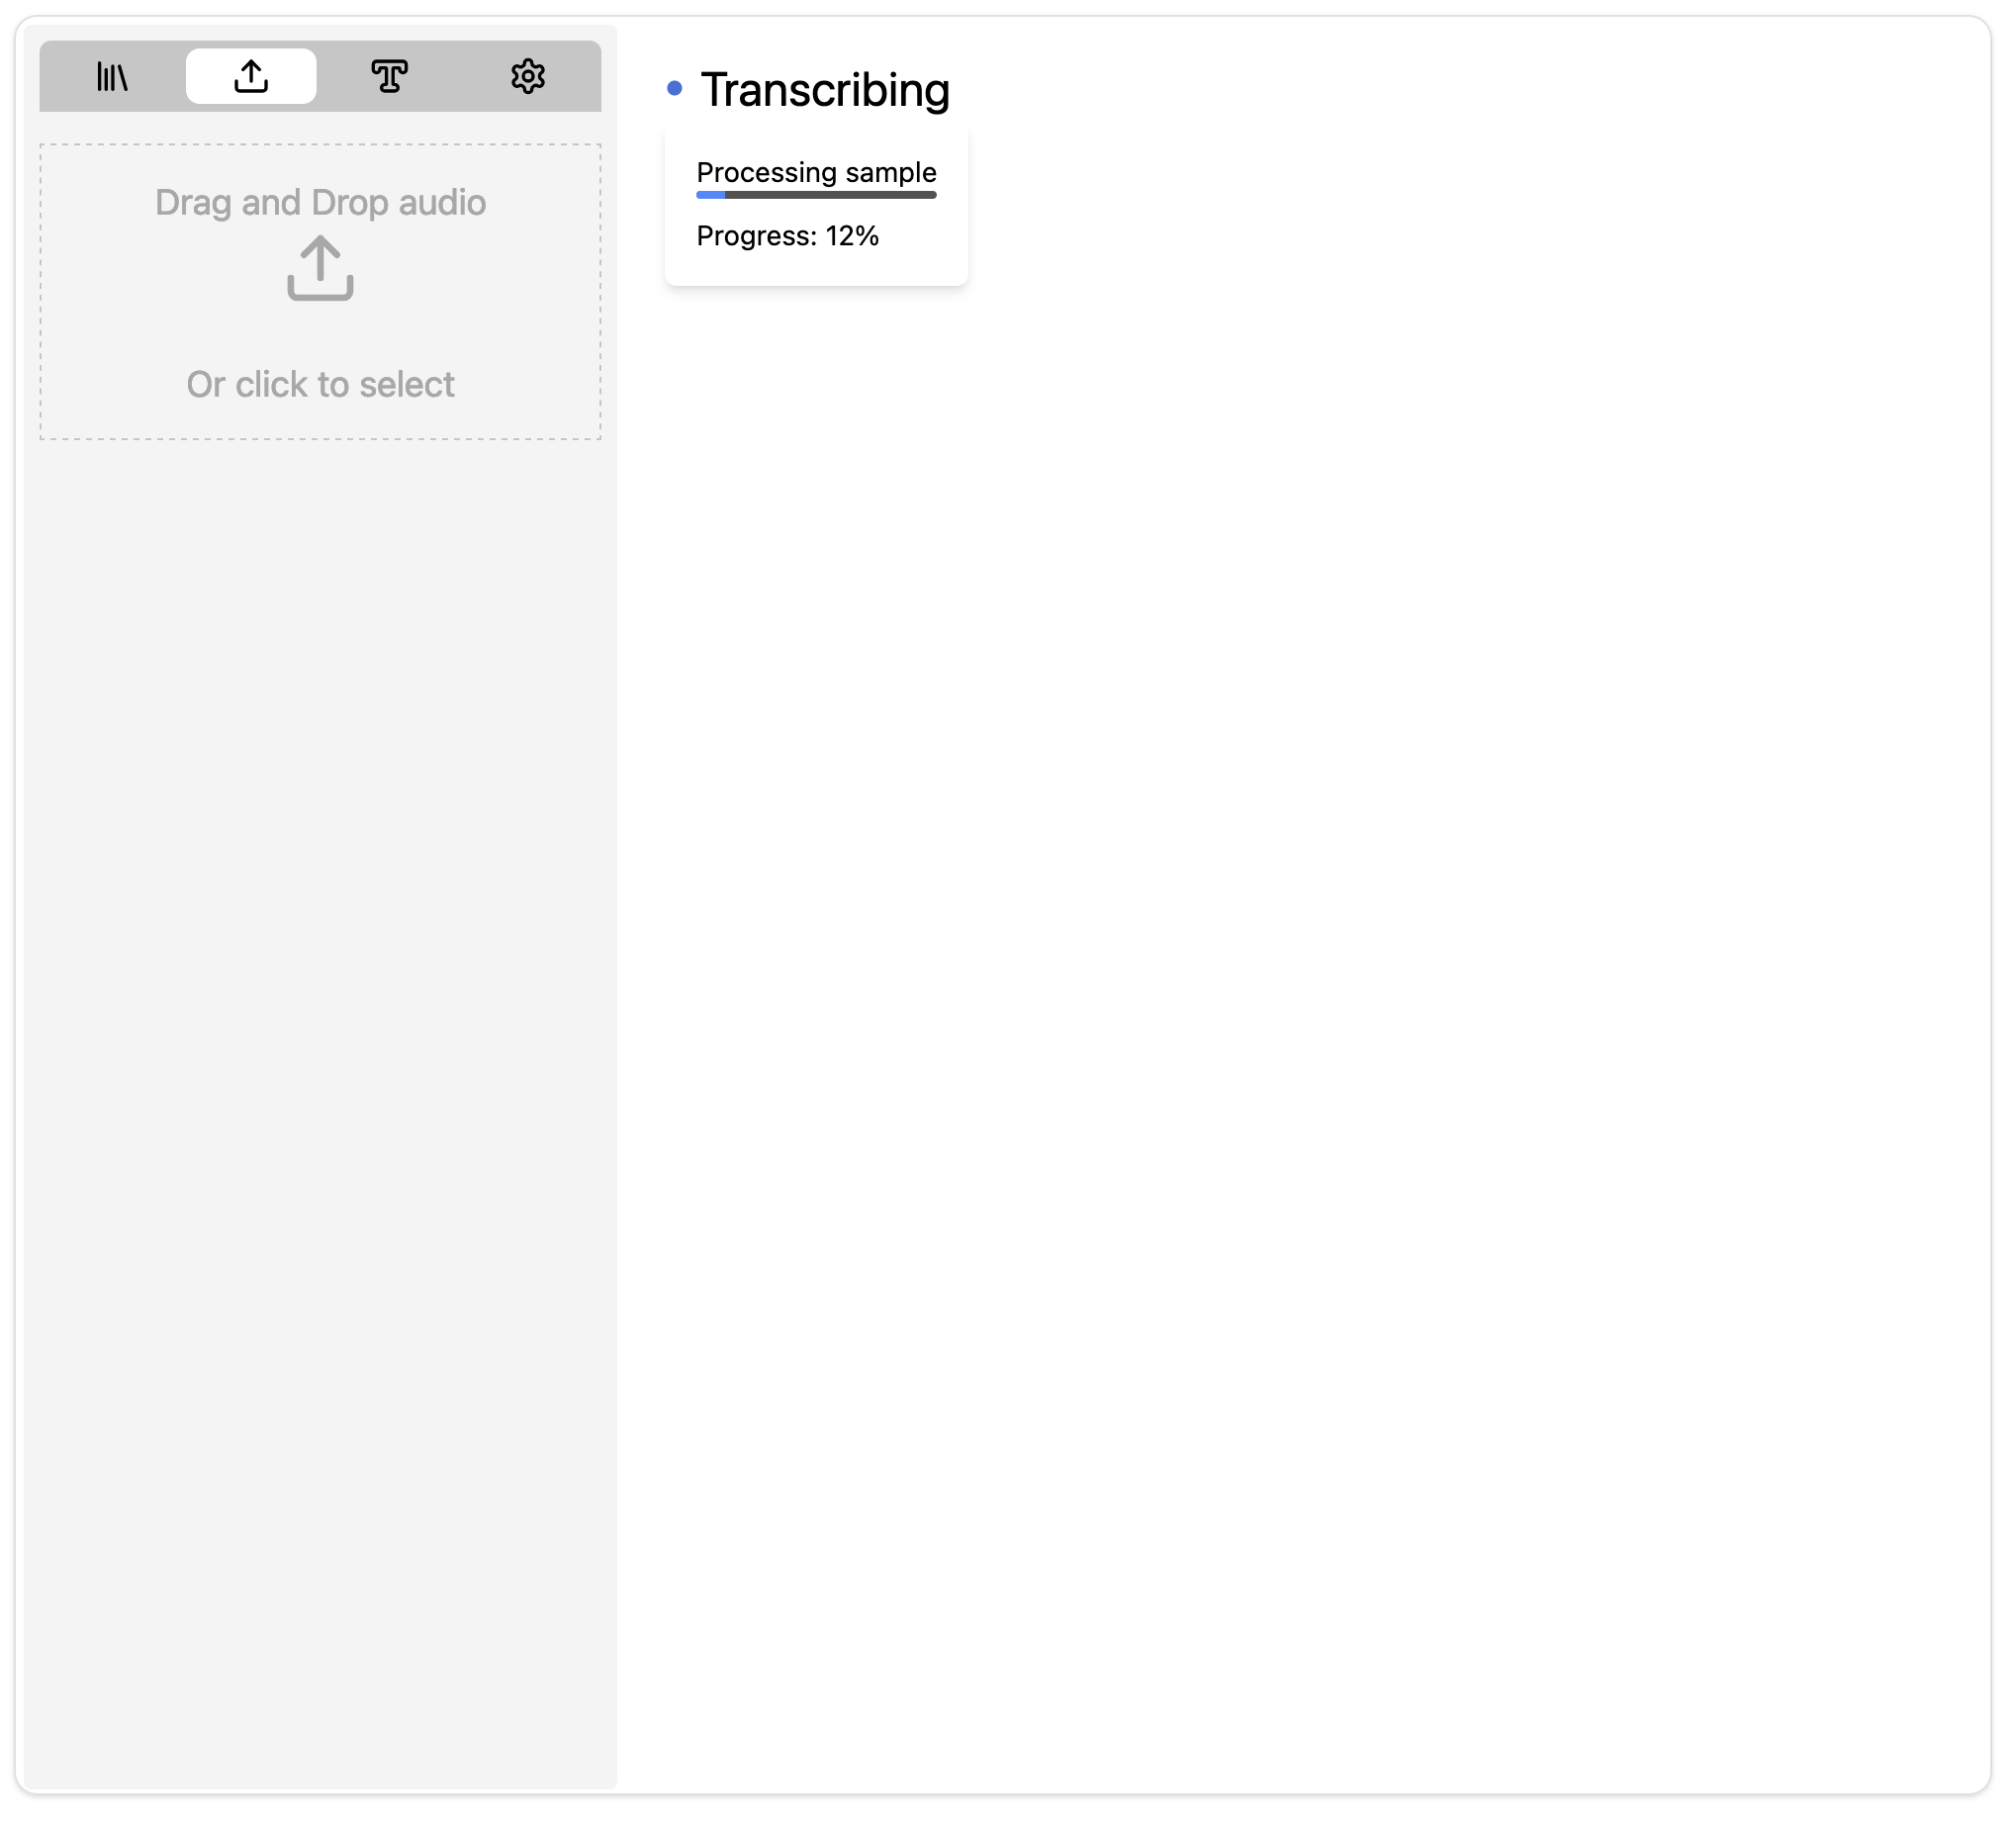
To transcribe navigate to the upload Tab shown below:
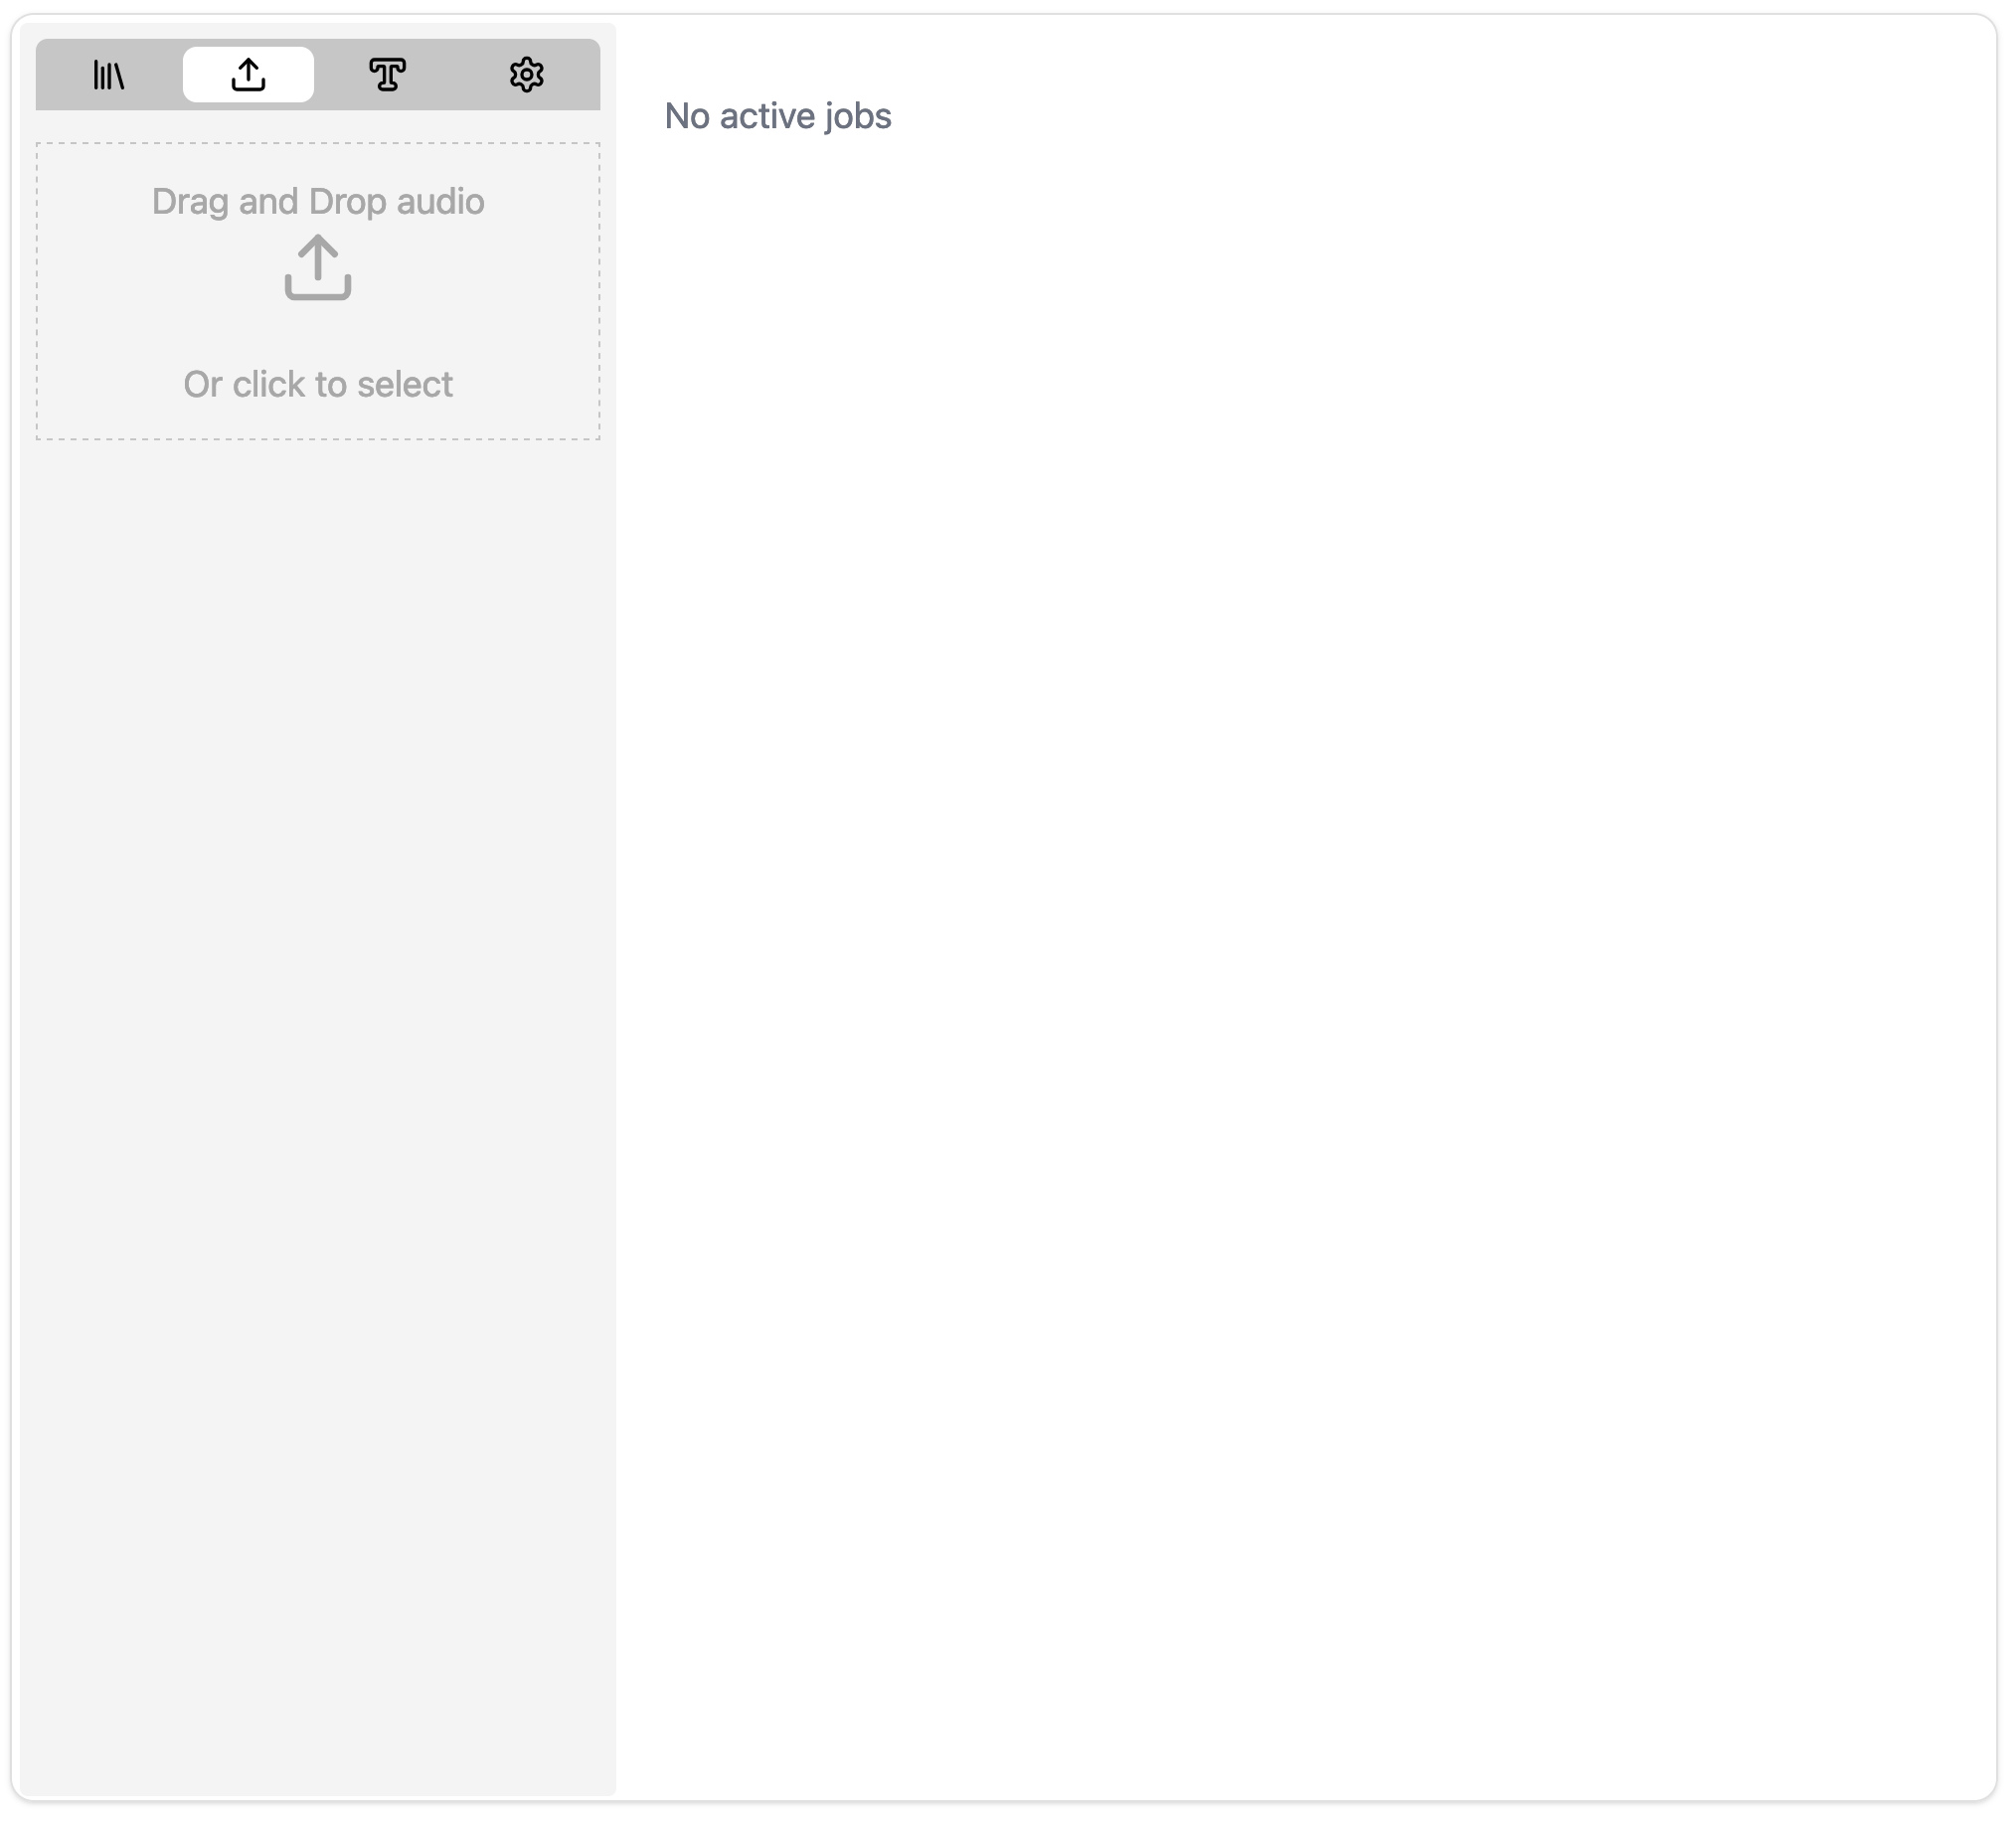
Either drag and drop audio files into the marked area or click anywhere inside it to open the file selection menu. Note that only audio files can be selected. Once the files are uploaded successfully, transcribing starts automatically.
You will be able to see the status of transcription as soon as upload is completed. If everything is working correctly, you will see something like this
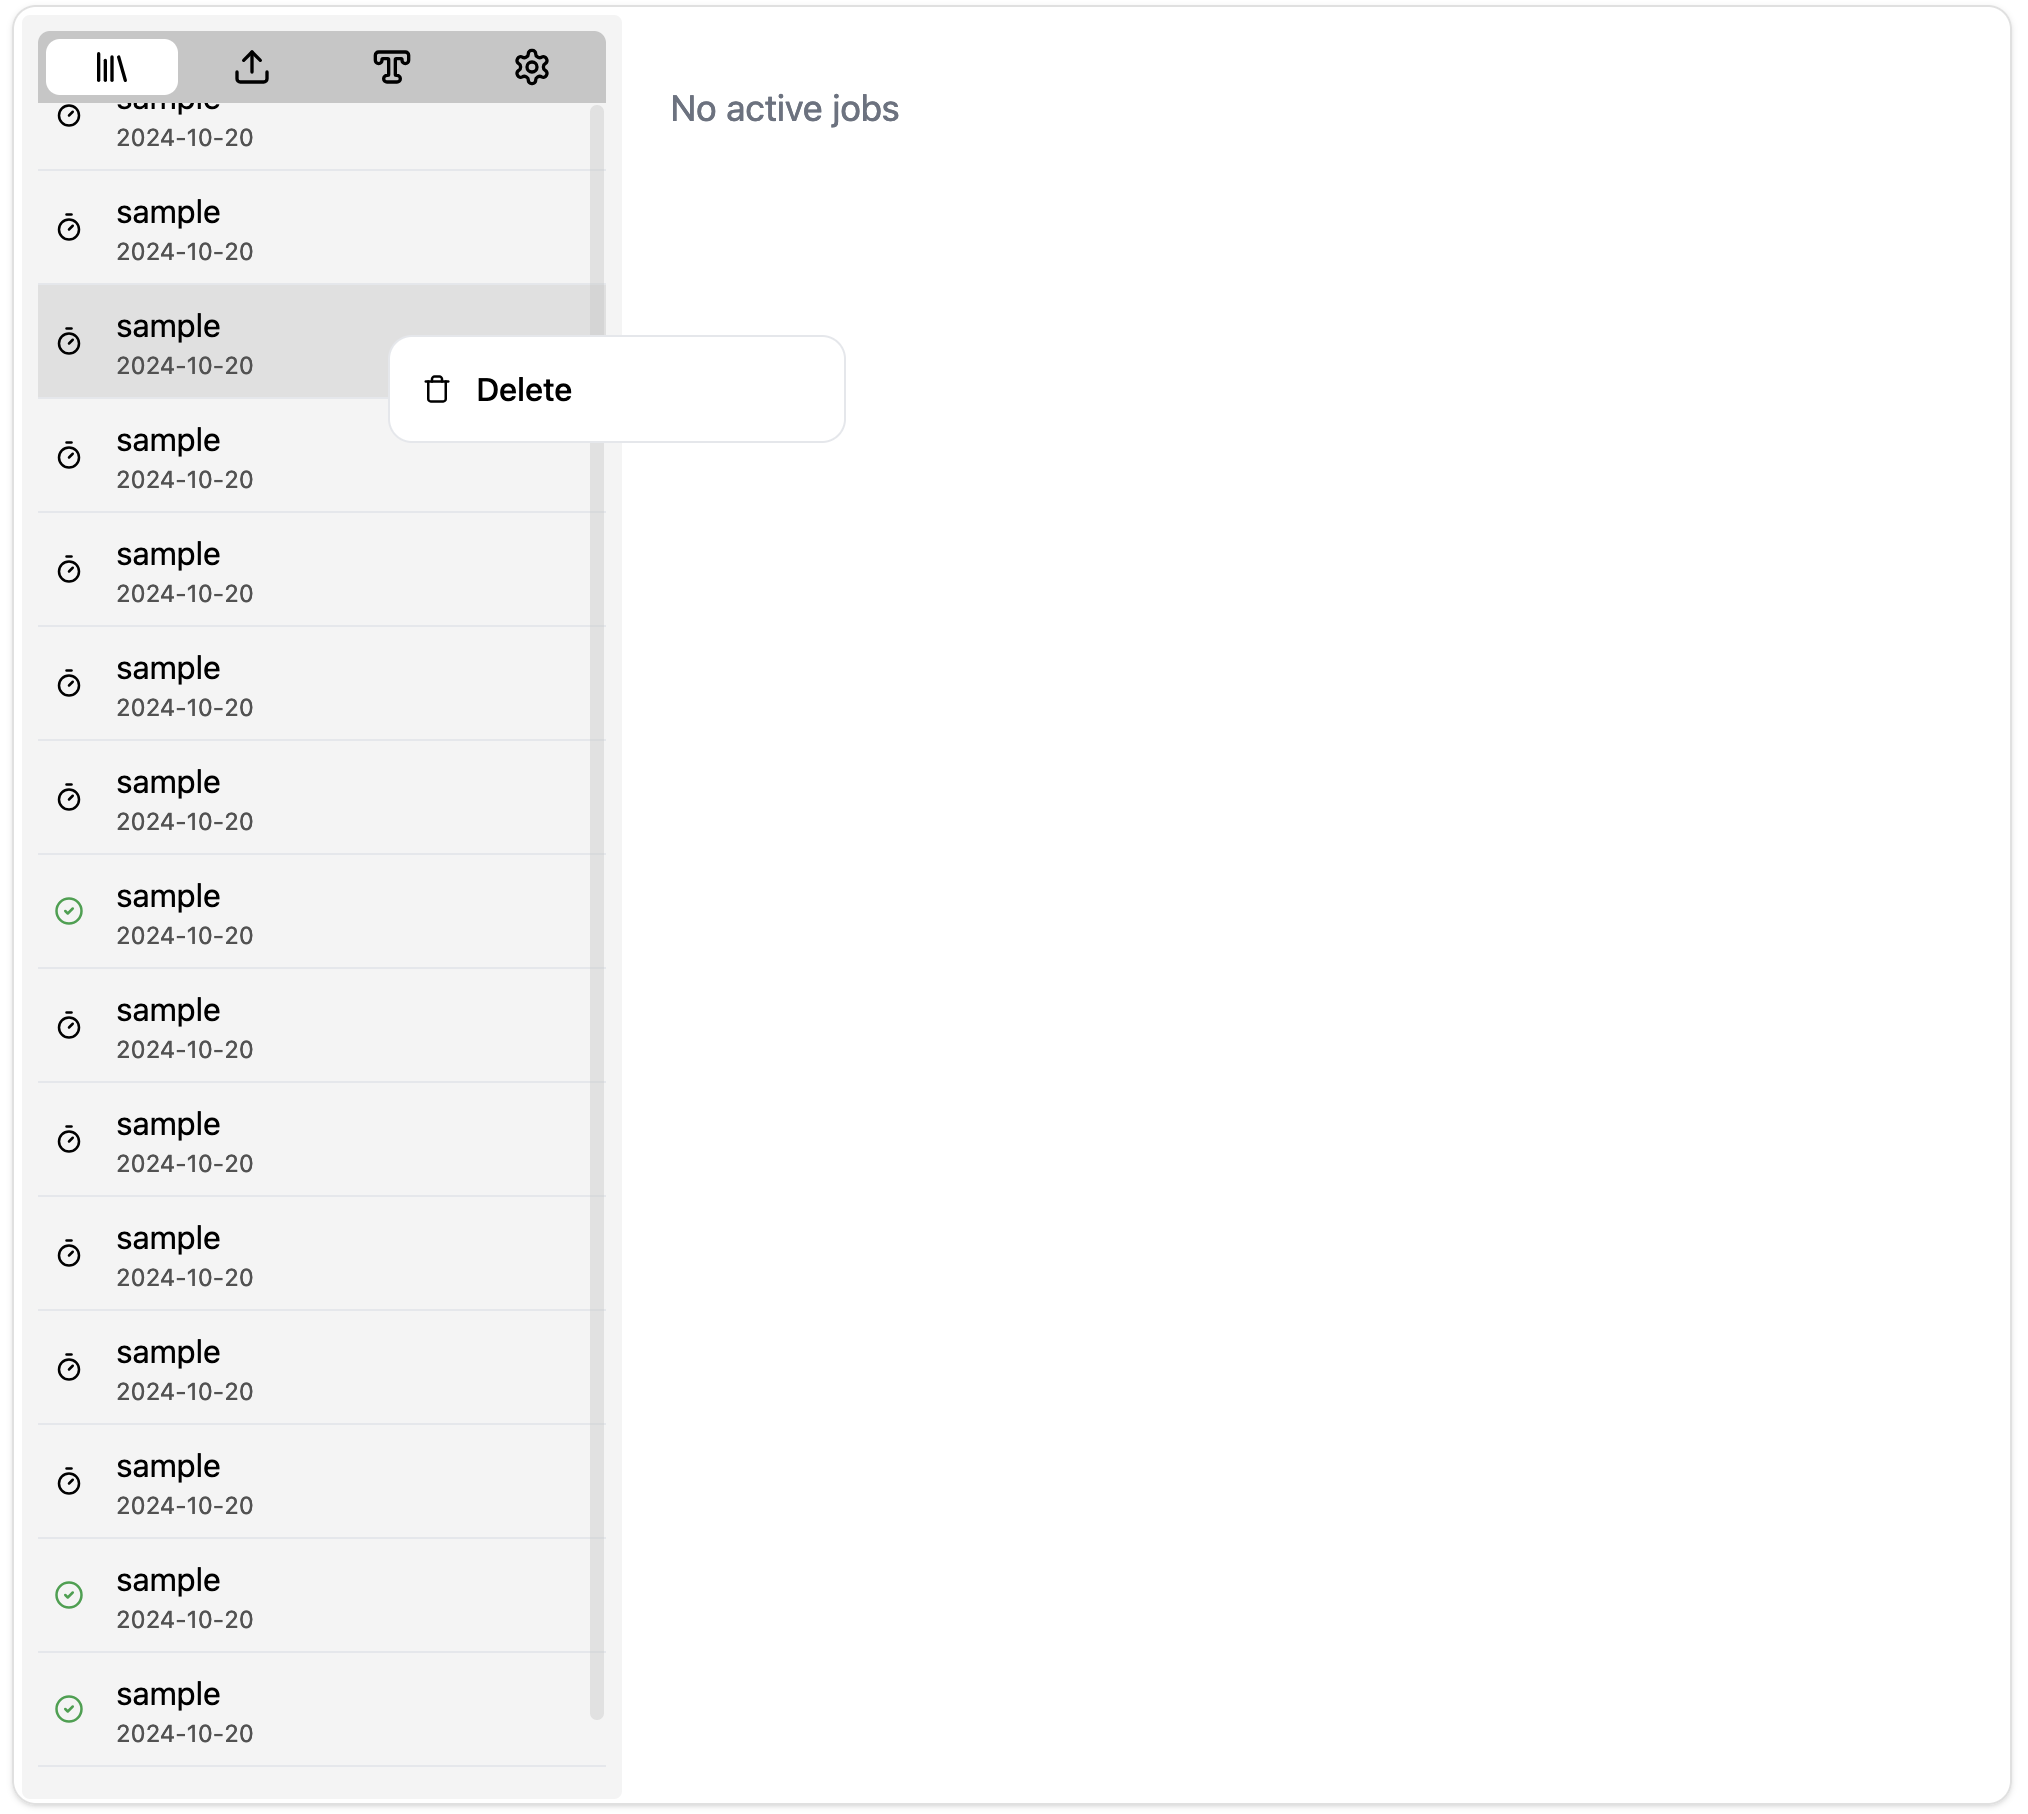
Rename, Delete and Edit
A recent update enabled support for basic CRUD operations on transcripts and summary templates.
Deletion
To delete a recording or transcript, right-click on their corresponding entry from the left menubar and click delete.
Renaming
To rename a recording or transcript, open it first and then double-click on
the title of the record or transcript to switch to edit mode. After you are
done editing, hit Shift + Enter to save or simply hit Escape to exit
edit mode without saving.
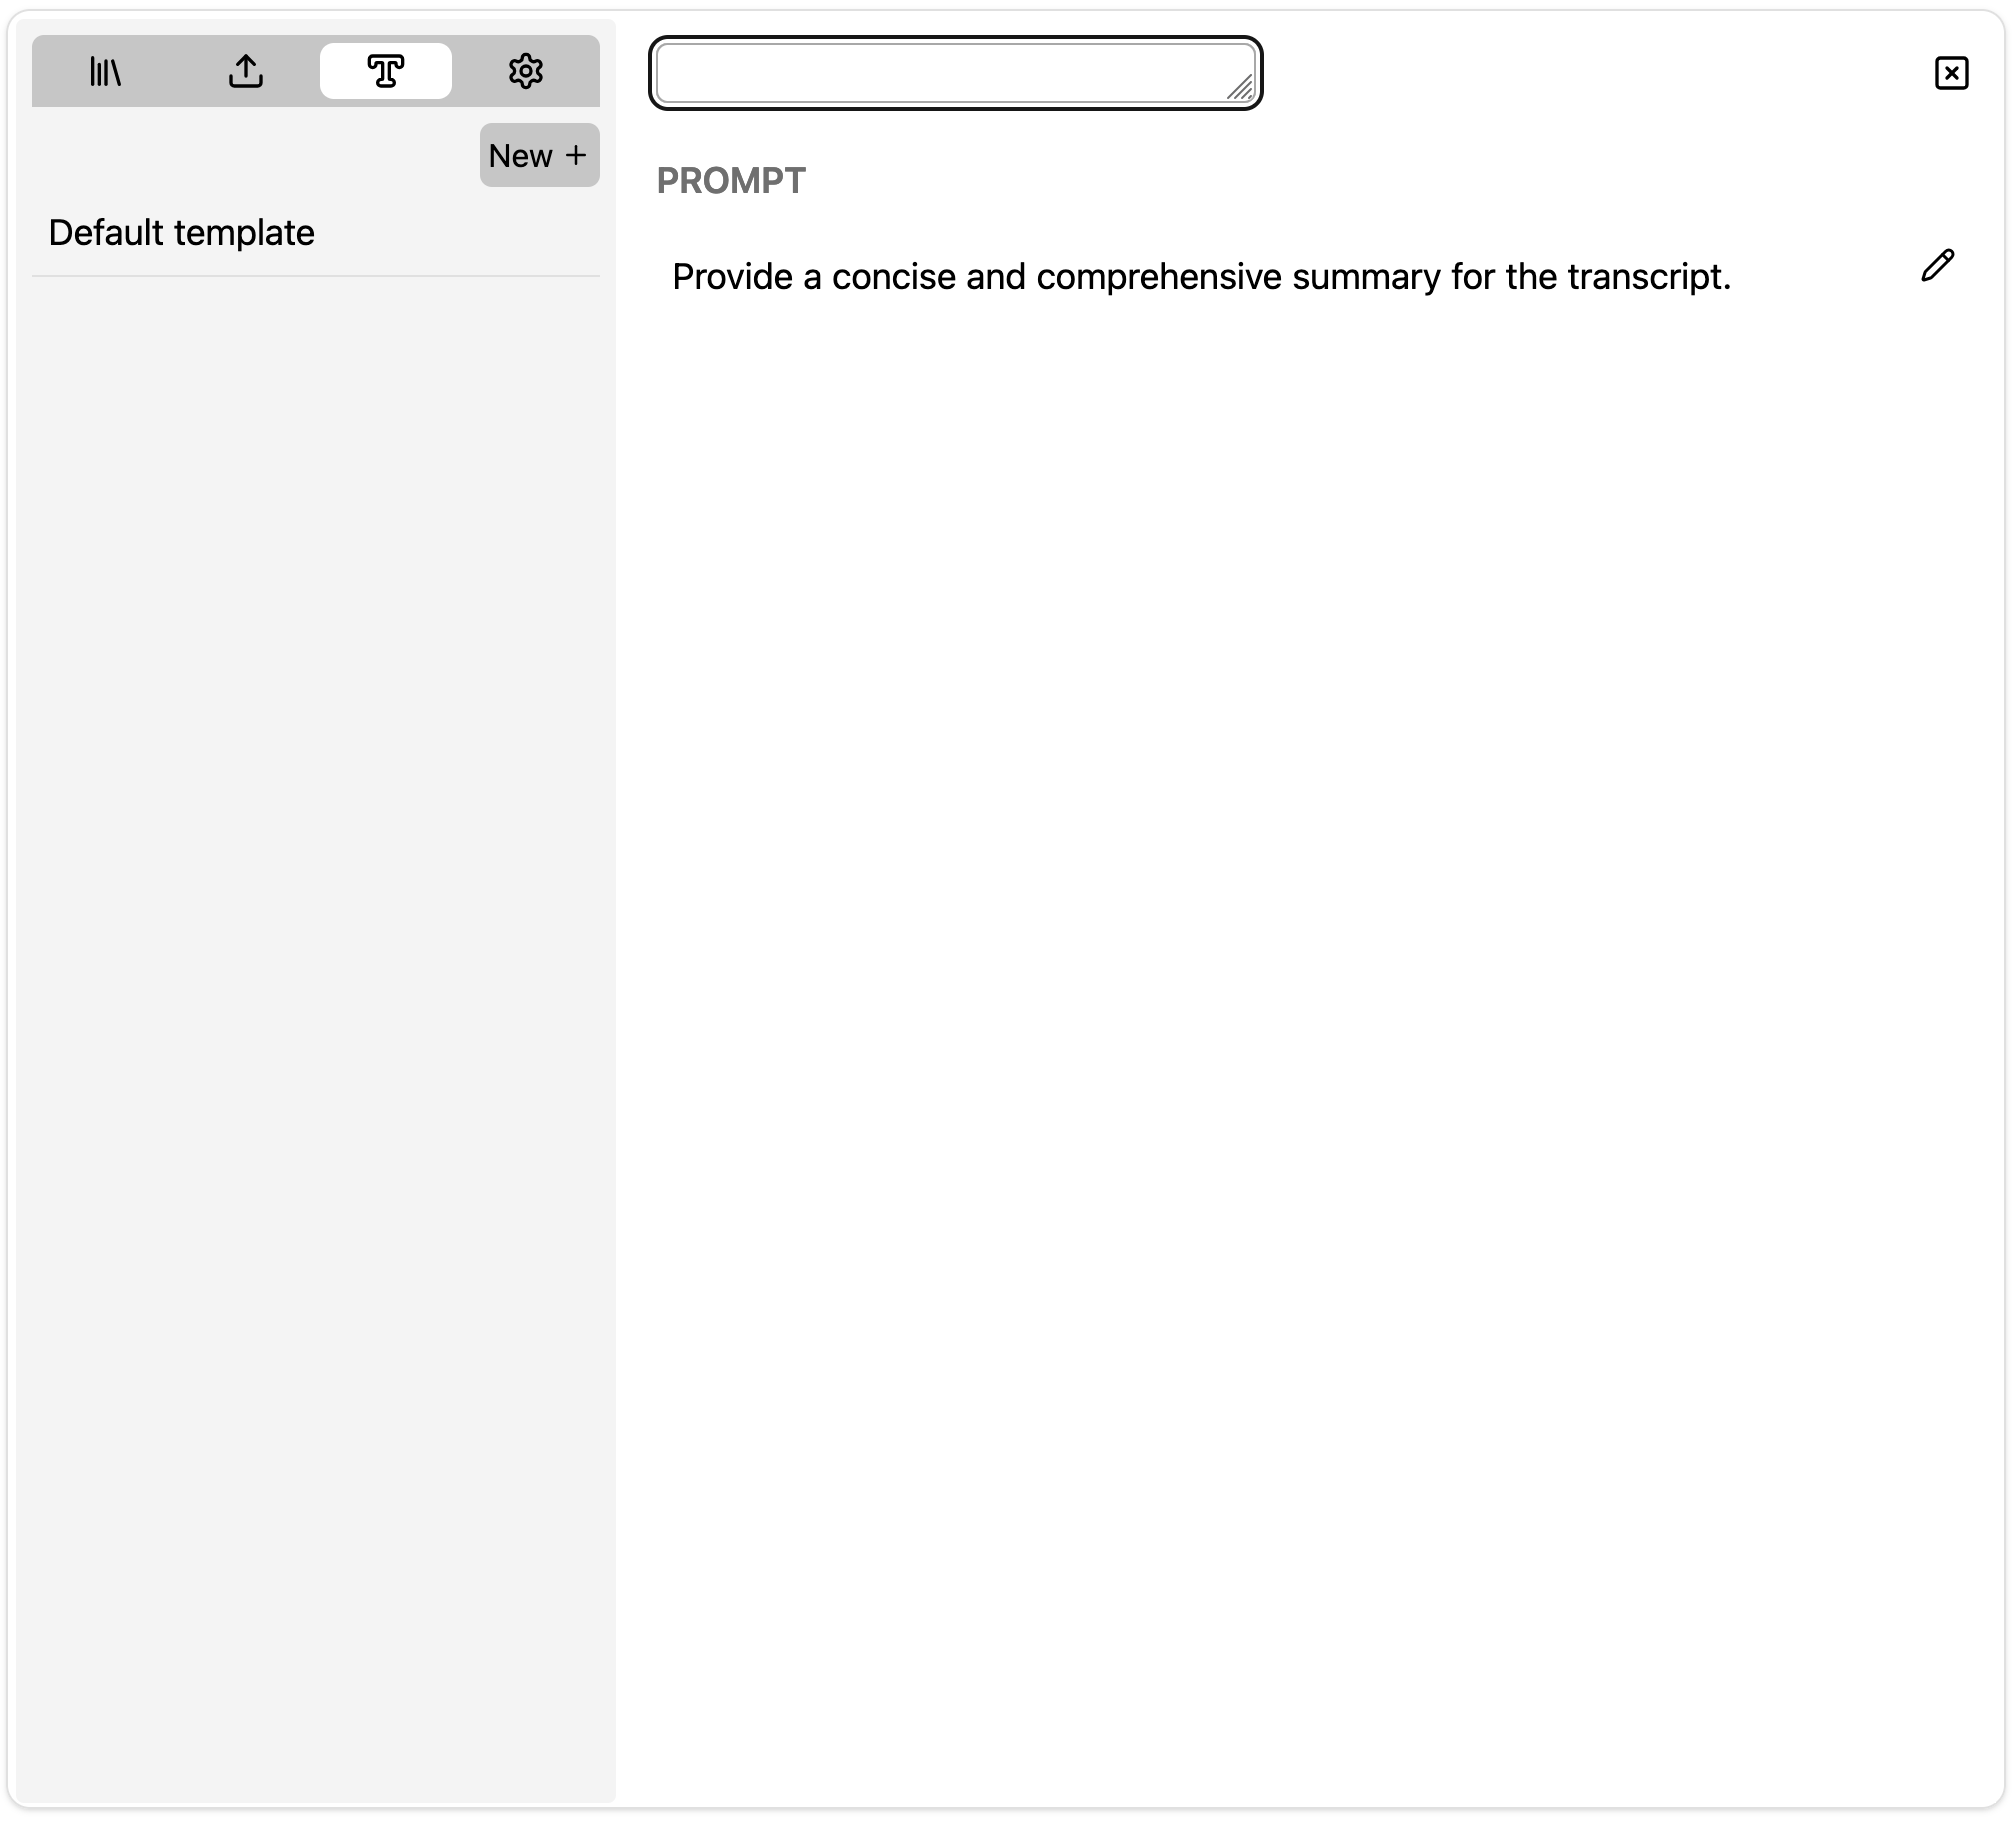
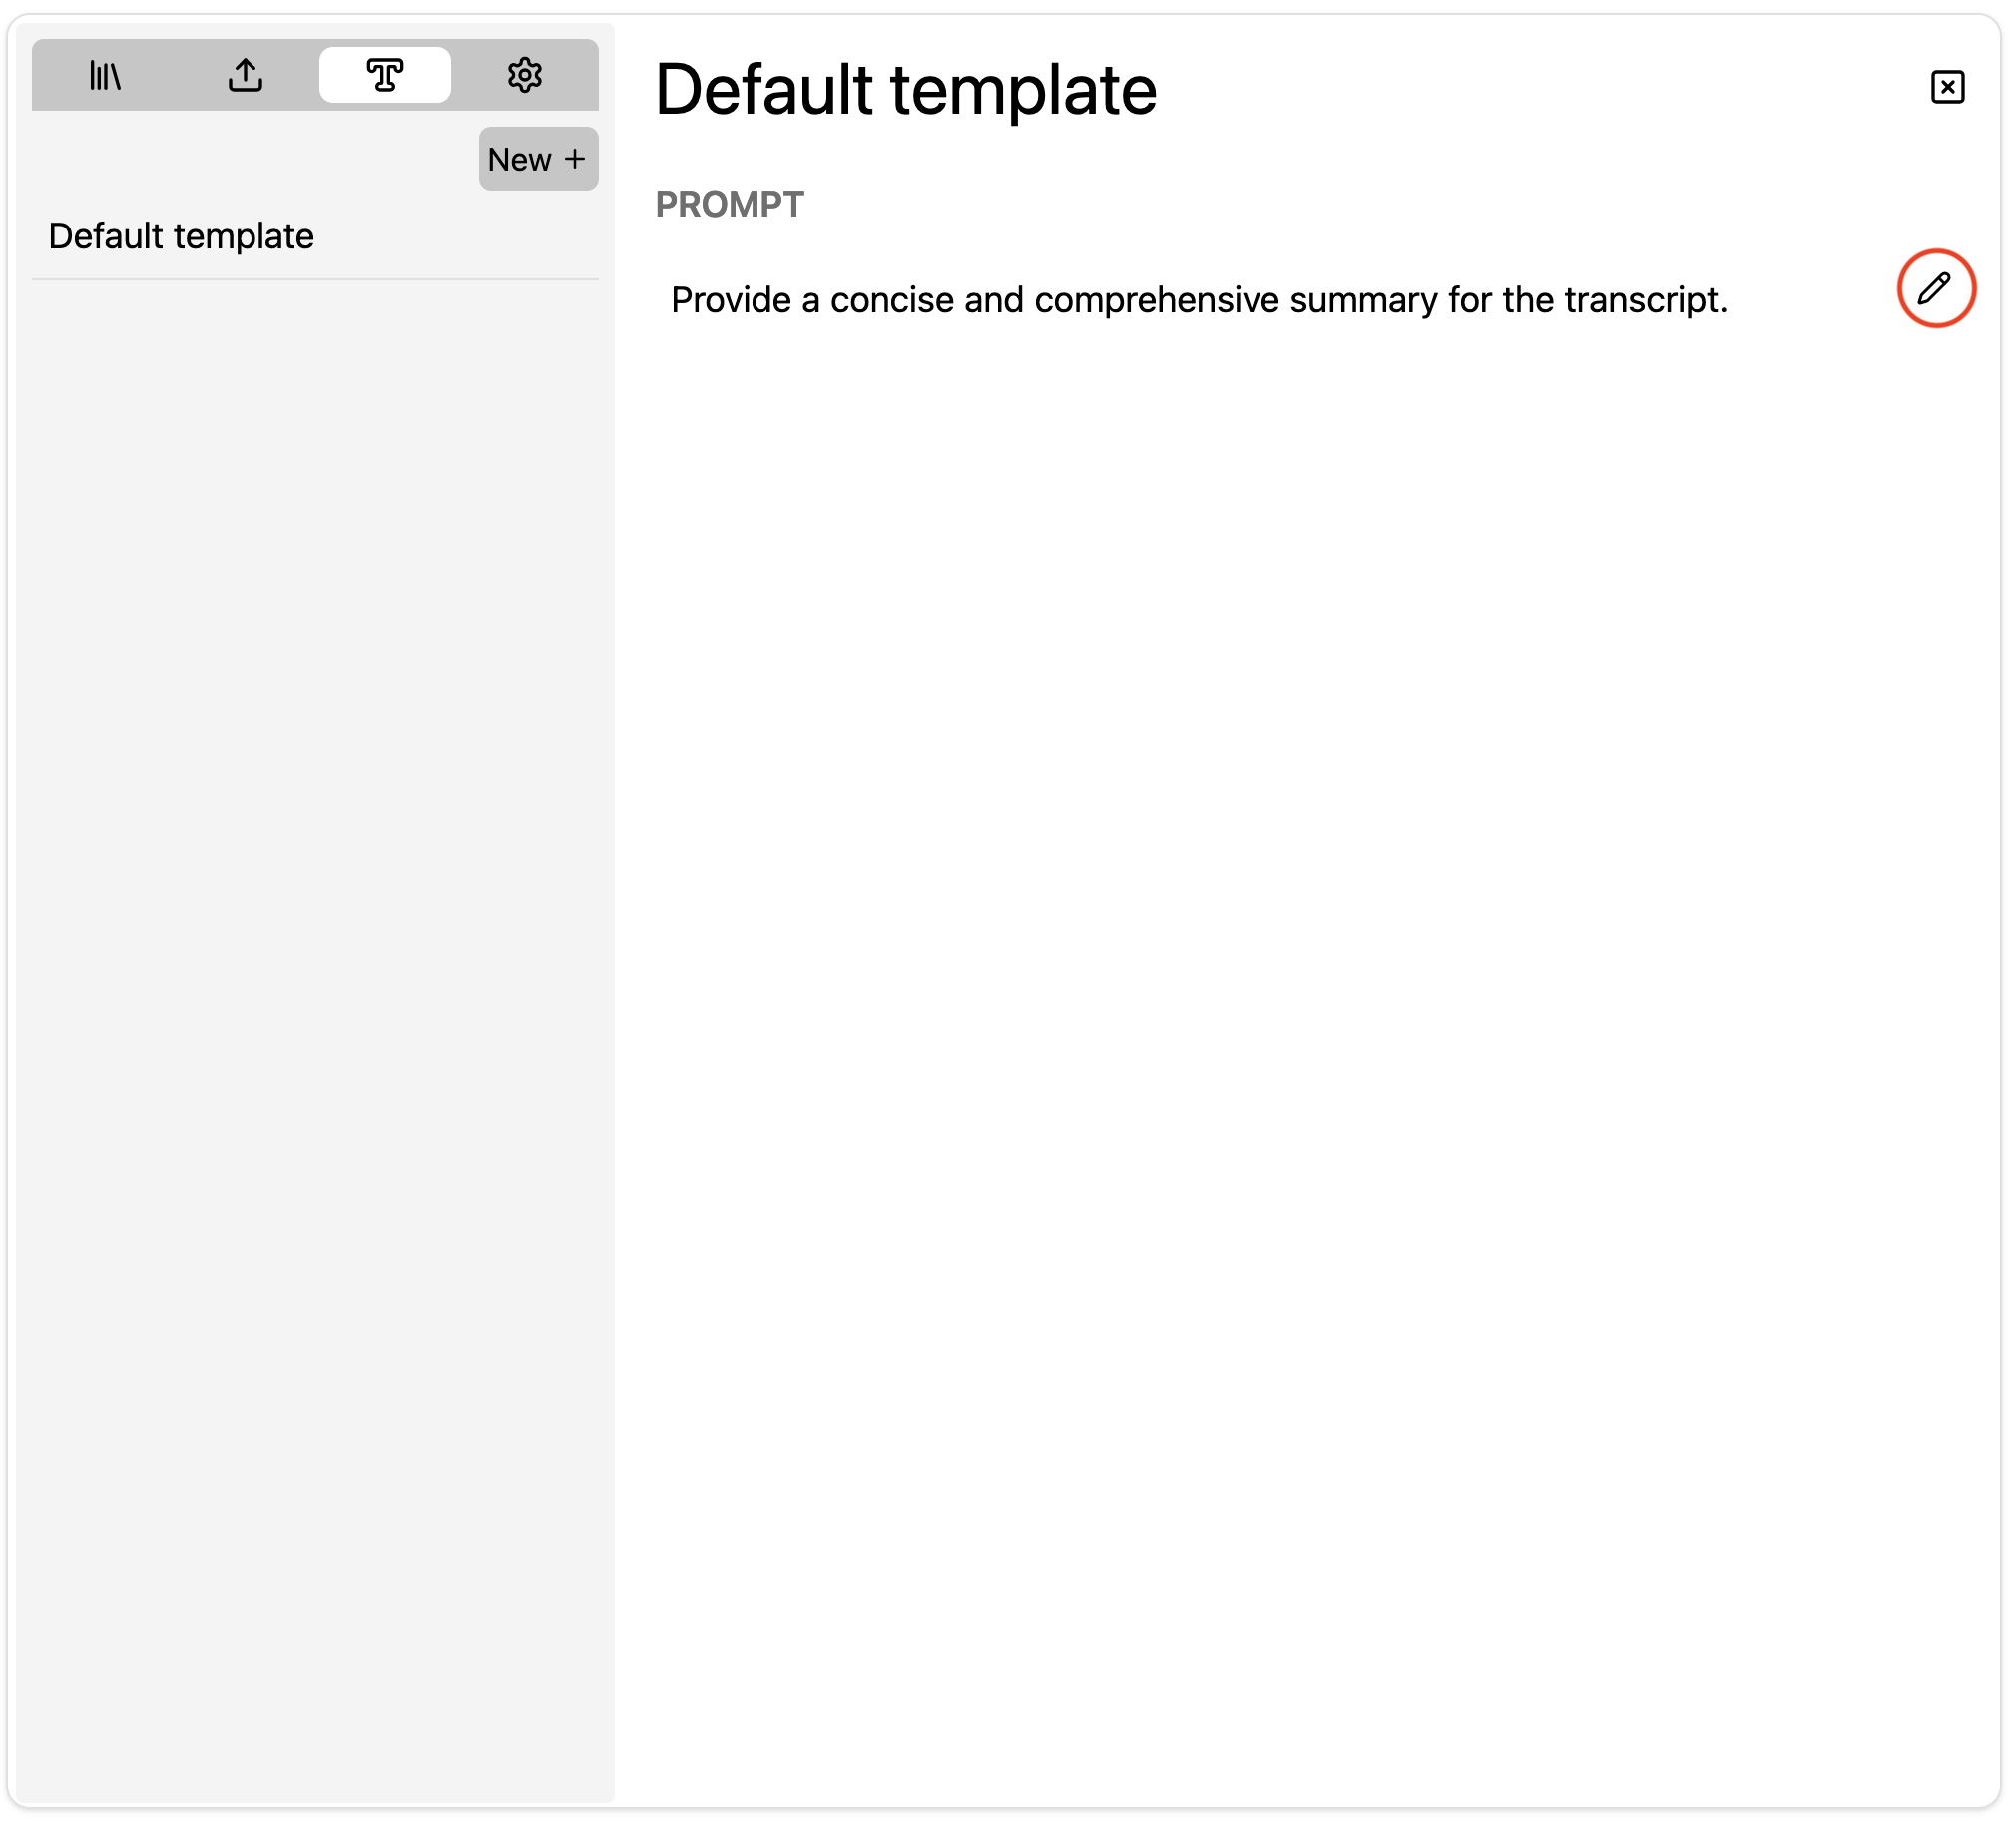
Updating Summary template
To edit a summary teplate, click on the pencil icon right next to the template to enter edit mode. Hit the floppy icon to save and exit or the other one to cancel without saving changes.
Speaker Diarization
Speaker diarization needs to be explicitly enabled by toggling Auto-diarization
in the Settings tab.
Note that CPU diarization can be slow depending on the # cores and # threads you allocate per transcription job. A NVIDIA GPU is recommended for faster processing.
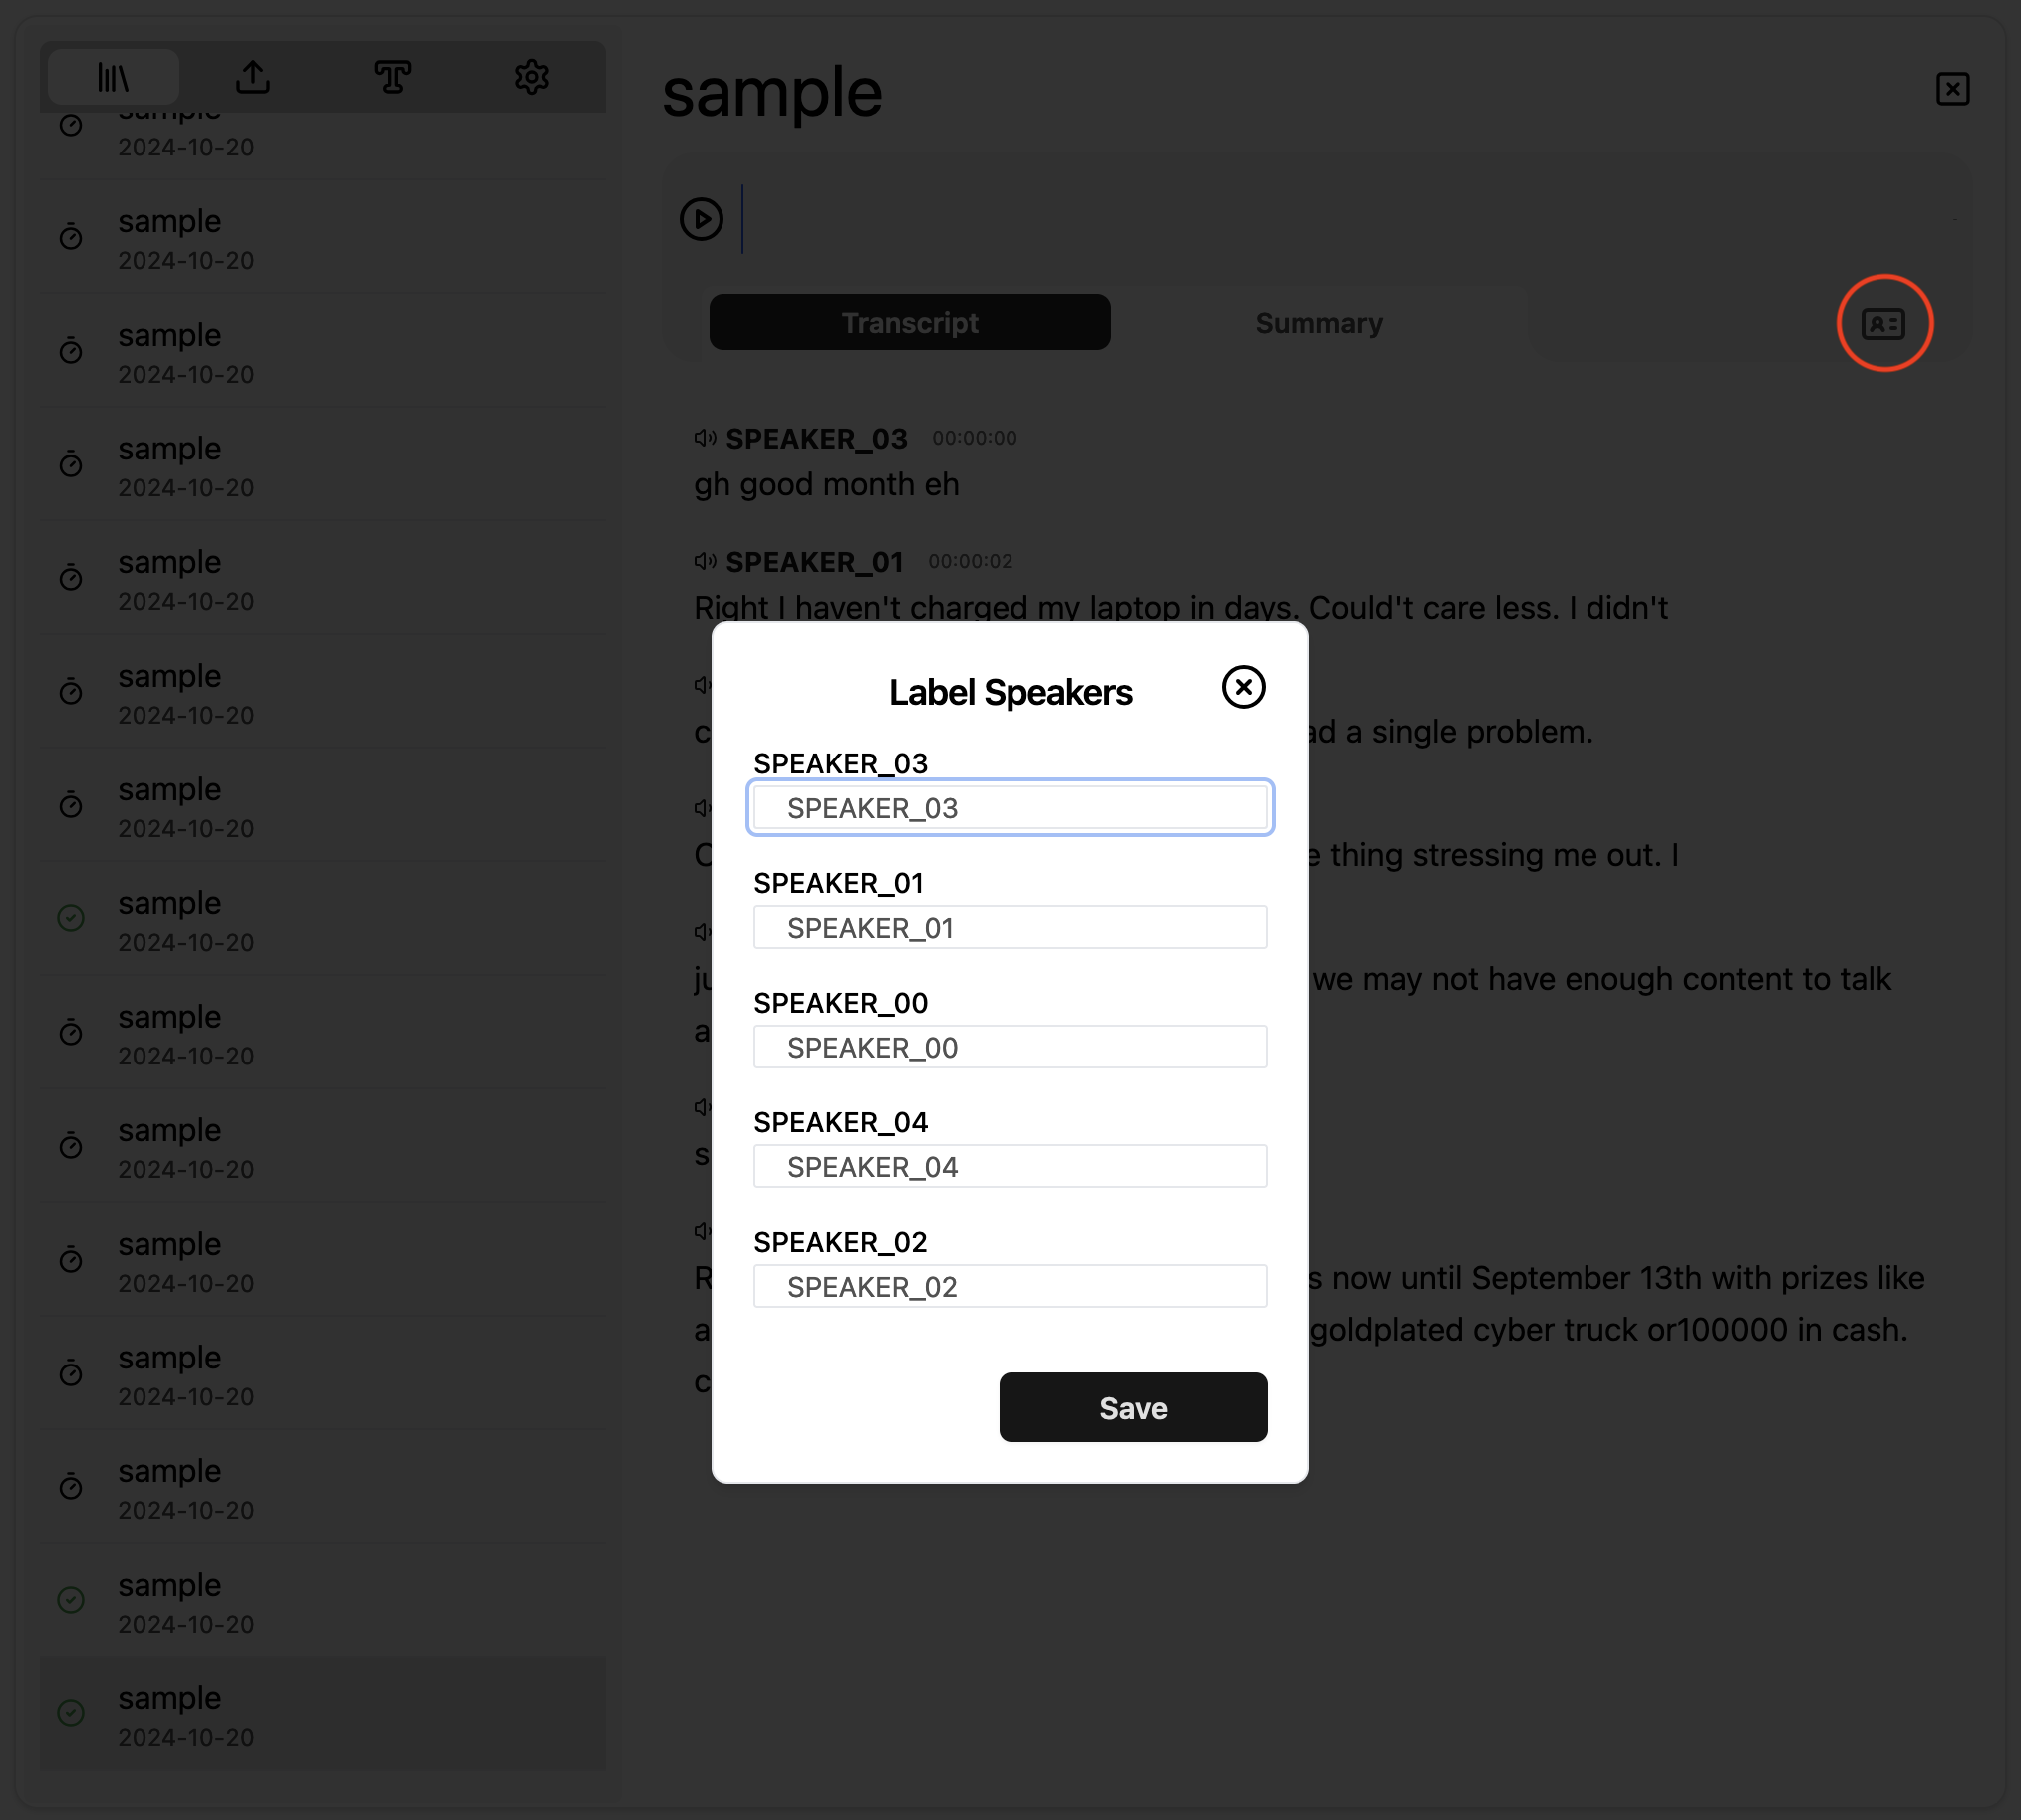
Diarization automatically identifiers and labels speakers of different sections
of the audio. By default speaker labels are assigned numerically as SPEAKER__01, SPEAKER__02, etc.
You can rename it by clicking on the ID icon on the top right when a transcript is open as shown below.
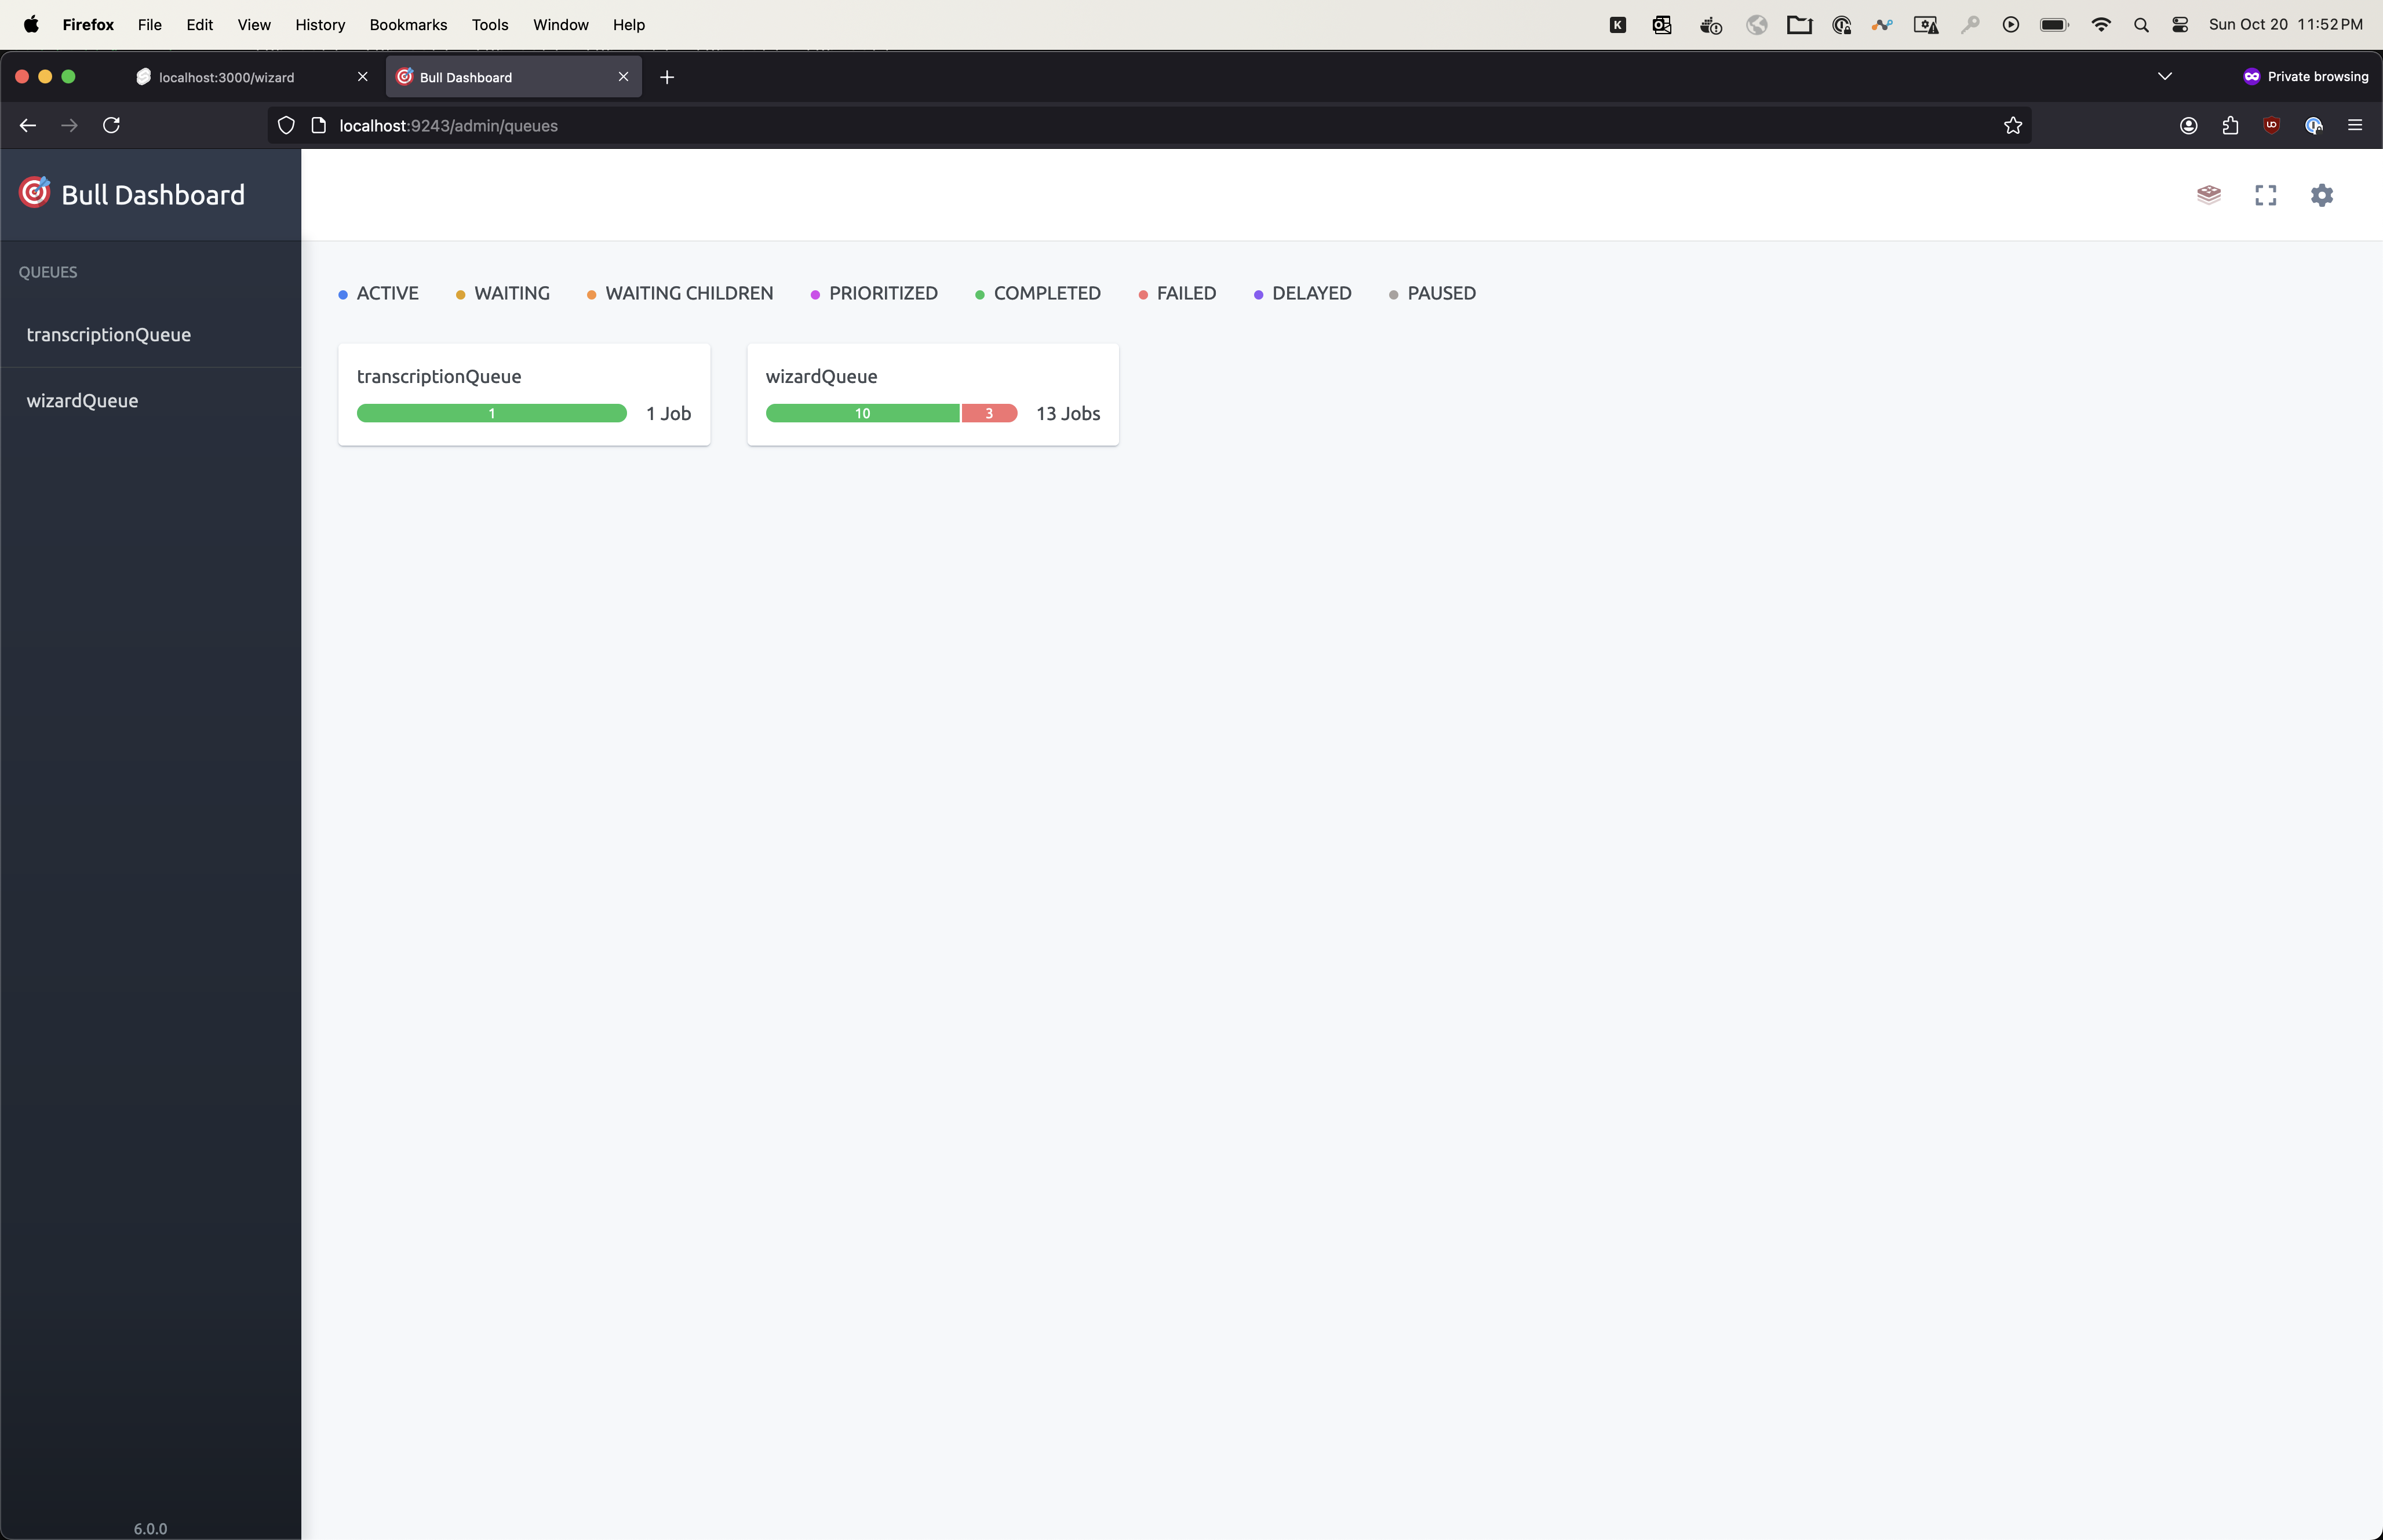
Debugging when things go wrong
Your best source for information is to inspect the job queue. The job queue dashboard is exposed on port 9243. If you bind that to localhost you can navigate to http://localhost:9243/admin/queues to access the job queue BullMQ dashboard as shown below.